
How to Train for Mount Whitney
22 miles. 7,000 feet of vertical. The tallest peak in the lower 48.
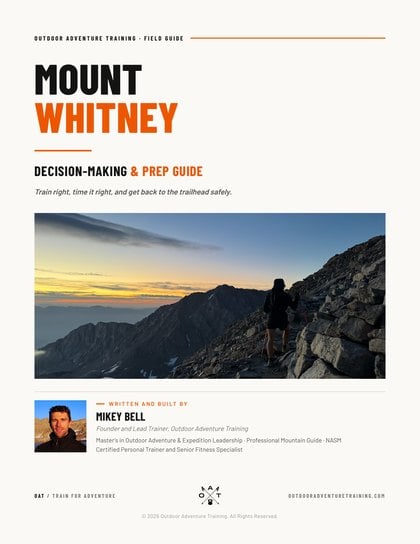
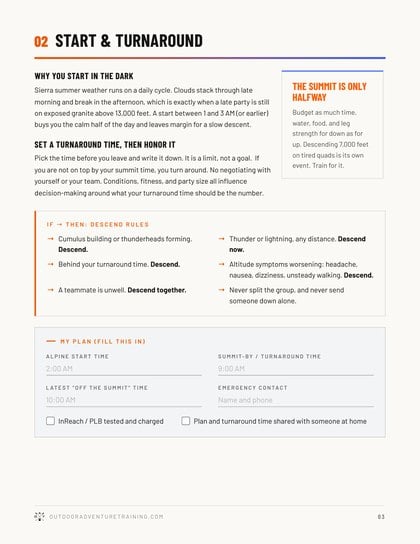
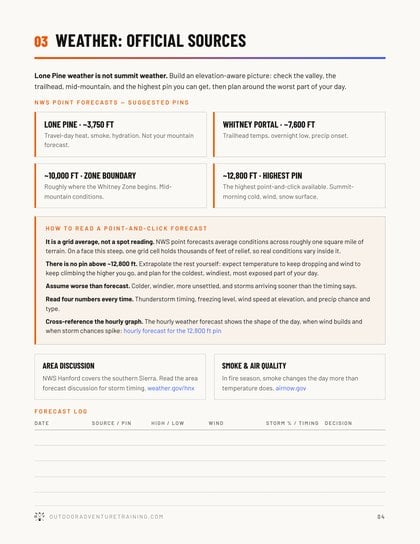
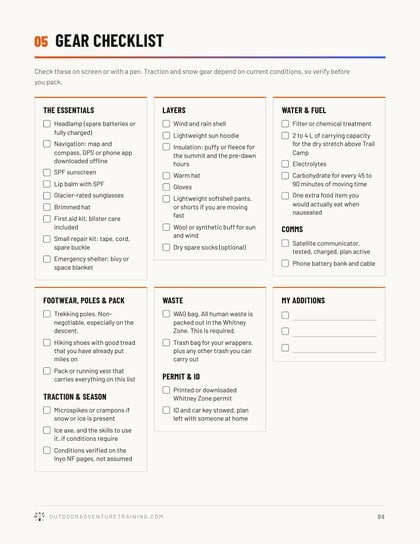
The Mount Whitney Field Guide
A detailed gear list and trip-planning template to help you prepare for your Mount Whitney climb.
- Full gear checklist
- Nutrition, hydration, and acclimatization plans
- Turnaround planner with decision-making guidelines
- NOAA weather forecast links
- Official Inyo permit, conditions, and alert links
▼ Where should we send it?
Free 8-page PDF. Printable and fillable.
More than 65,000 people enter the lottery every year for a Mount Whitney permit. During quota season, only 160 are allowed on the trail per day, which works out to roughly 30,000 people who actually get to try. Of those, common estimates put the number who reach the summit at about a third.
Nobody keeps an official count, so treat that as an estimate rather than a fact. What isn't in question is why people turn around. The reasons are consistent, and every one of them is something you can prepare for.
This article covers the main ones. It won't guarantee you a summit, because nothing does. It will give you a plan for showing up prepared enough to have a safe and enjoyable day on the tallest peak in the lower 48.
Why People Turn Around
Altitude. The most common reason by a wide margin. Whitney tops out at 14,505 feet, with about 40 percent less oxygen than your body is used to at sea level. Almost nobody arrives adapted to that, and no amount of fitness substitutes for the adaptation.
The clock. It takes 12 to 16 hours or more for most people to climb and descend from Whitney Portal. A slow start compounds all day, and it ends with people descending into afternoon storms or into the dark.
The descent. The summit is only halfway. Most accidents happen on the way down, on tired legs, and quads that weren't trained to absorb 7,000 feet of downhill are the ones that give out.
Decisions. No turnaround time, a group that splits up, or an ego that won't let someone say they're done. The decisions you make up there matter more than your fitness level.
The rest of this is how to train for each of those.
How Hard Is Mount Whitney
There are several ways up: a single-day push from Whitney Portal, or a multi-day trip through the John Muir Wilderness or Sequoia National Park. There's no easy way to the top. All of them are challenging. The only thing that changes is how you prepare.
You should already be comfortable with all-day hikes on rough ground, in the range of twelve to sixteen miles with a few thousand feet of gain, and still feel steady at the end. If that's your hardest day rather than a normal one, build more base first.
For a newer or intermediate hiker, this could be the hardest thing you've ever done. You'll be doing it on a short night of sleep, starting in the dark, possibly at the highest altitude you've ever been to. Those variables stack.
Train Systems, Not Workouts
Twelve to sixteen hours of climbing and descending is a tremendous load on the body, and if your tendons aren't ready for it, you will blow up.
Muscle adapts quickly. A few weeks of consistent strength work and you'll feel stronger, mostly because your nervous system got better at recruiting what you already had. Tendons and connective tissue are structural, and those changes take much longer. Even with a decent baseline of fitness, you need a minimum of eight to twelve weeks of dedicated, consistent training to build durability. That's your calendar.
So we build from the ground up: feet and ankles, then knees, then the engine, then the mind.
Pillar One: Feet & Ankles
On the Mount Whitney Trail, your feet and ankles will take a beating. It's a well-traveled trail and it's still legitimate mountain terrain: rugged, jagged granite, new rockfall over sections of trail, creek crossings. You'll be asked to articulate your ankles into awkward and uncomfortable positions, and you'll do a lot of it in the dark.
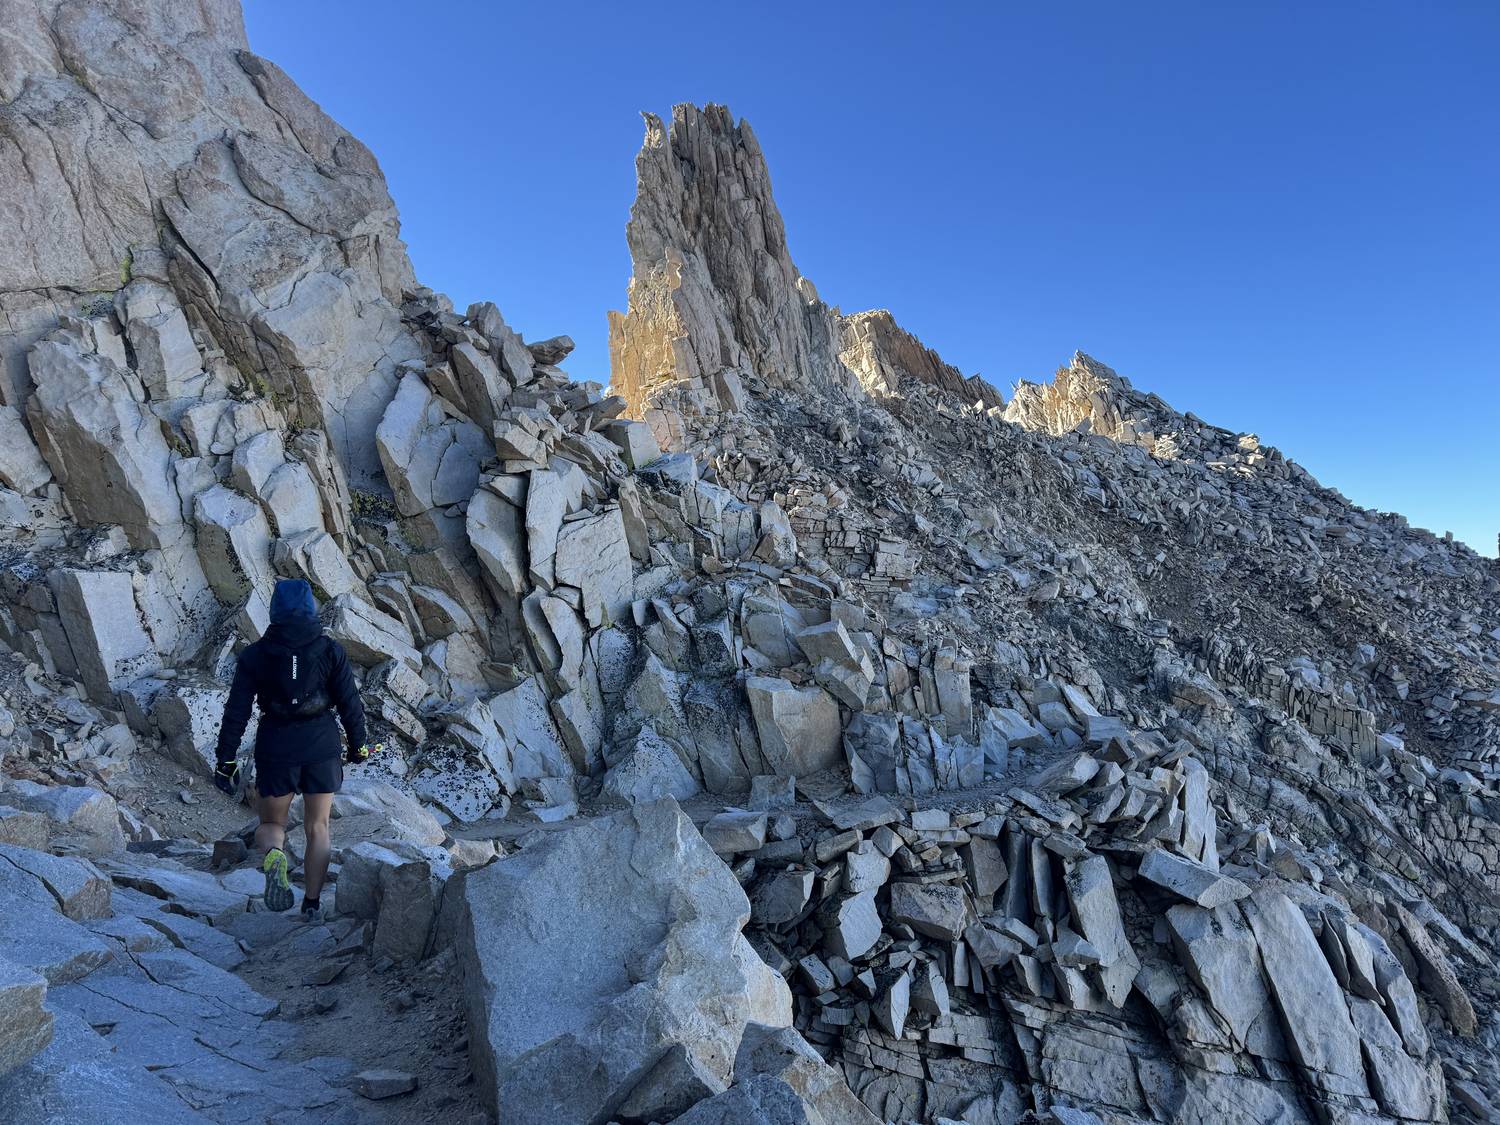
There are a few no-fall zones up there, and good balance is often the difference between a stumble you can catch and a stumble you can't. That's why this work is non-negotiable.
Here's what it looks like:
- Prioritize single-leg work. Almost any exercise becomes a balance movement when you do it on one leg. It activates the intrinsic muscles of the foot that support your arch and gets you comfortable stabilizing on one leg, which is what you're doing every step of the way on the trail.
- Add an unstable surface once single-leg feels solid. A foam pad or a BOSU is plenty, and you don't need expensive equipment. Some of those rocks look stable and wobble anyway, and you need to react to that.
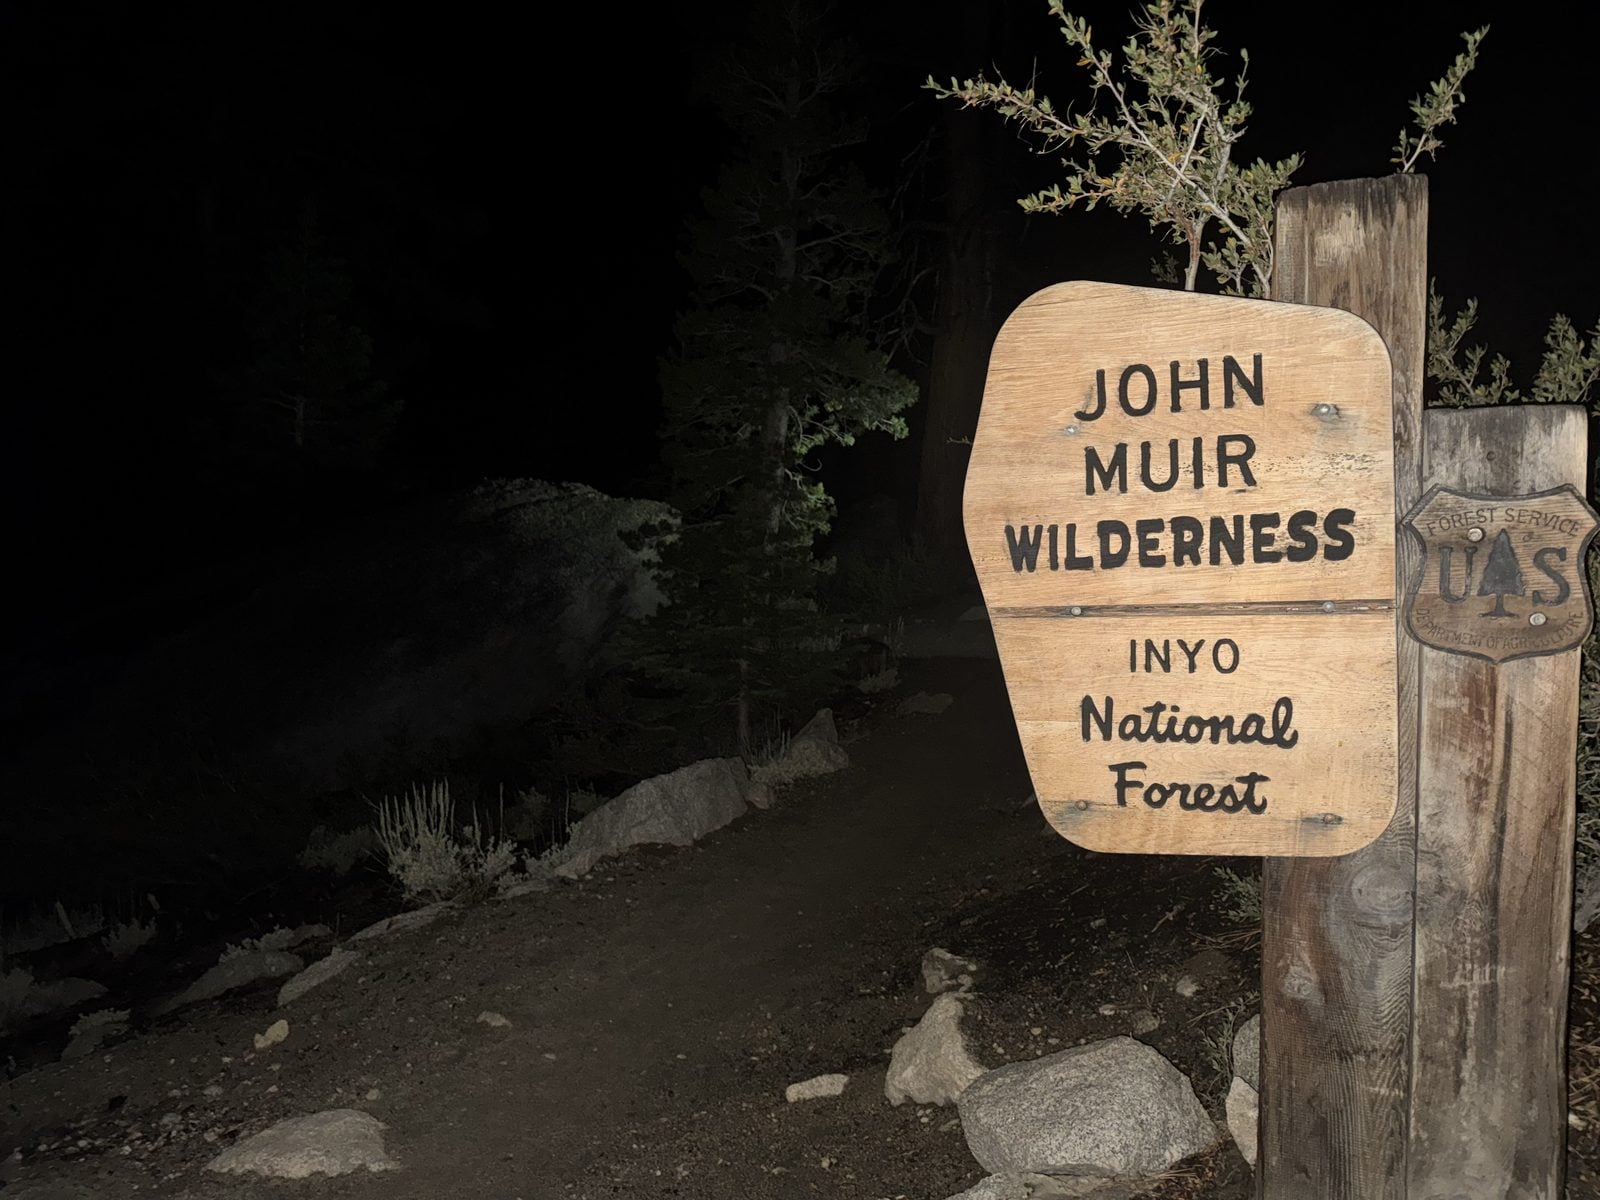
- Train in low light or with your eyes closed. Take vision away and the ankle has to rely on proprioception, which is exactly what a creek crossing at 3:18 in the morning asks of you.
- Use plyometrics. They build your ability to absorb force through the entire kinetic chain, so you can react when you step down off a larger step or ledge.
For more depth, our Mountain Ankles program covers building healthy feet and ankles for mountain adventures and includes a full footwear guide.
Pillar Two: The Descent
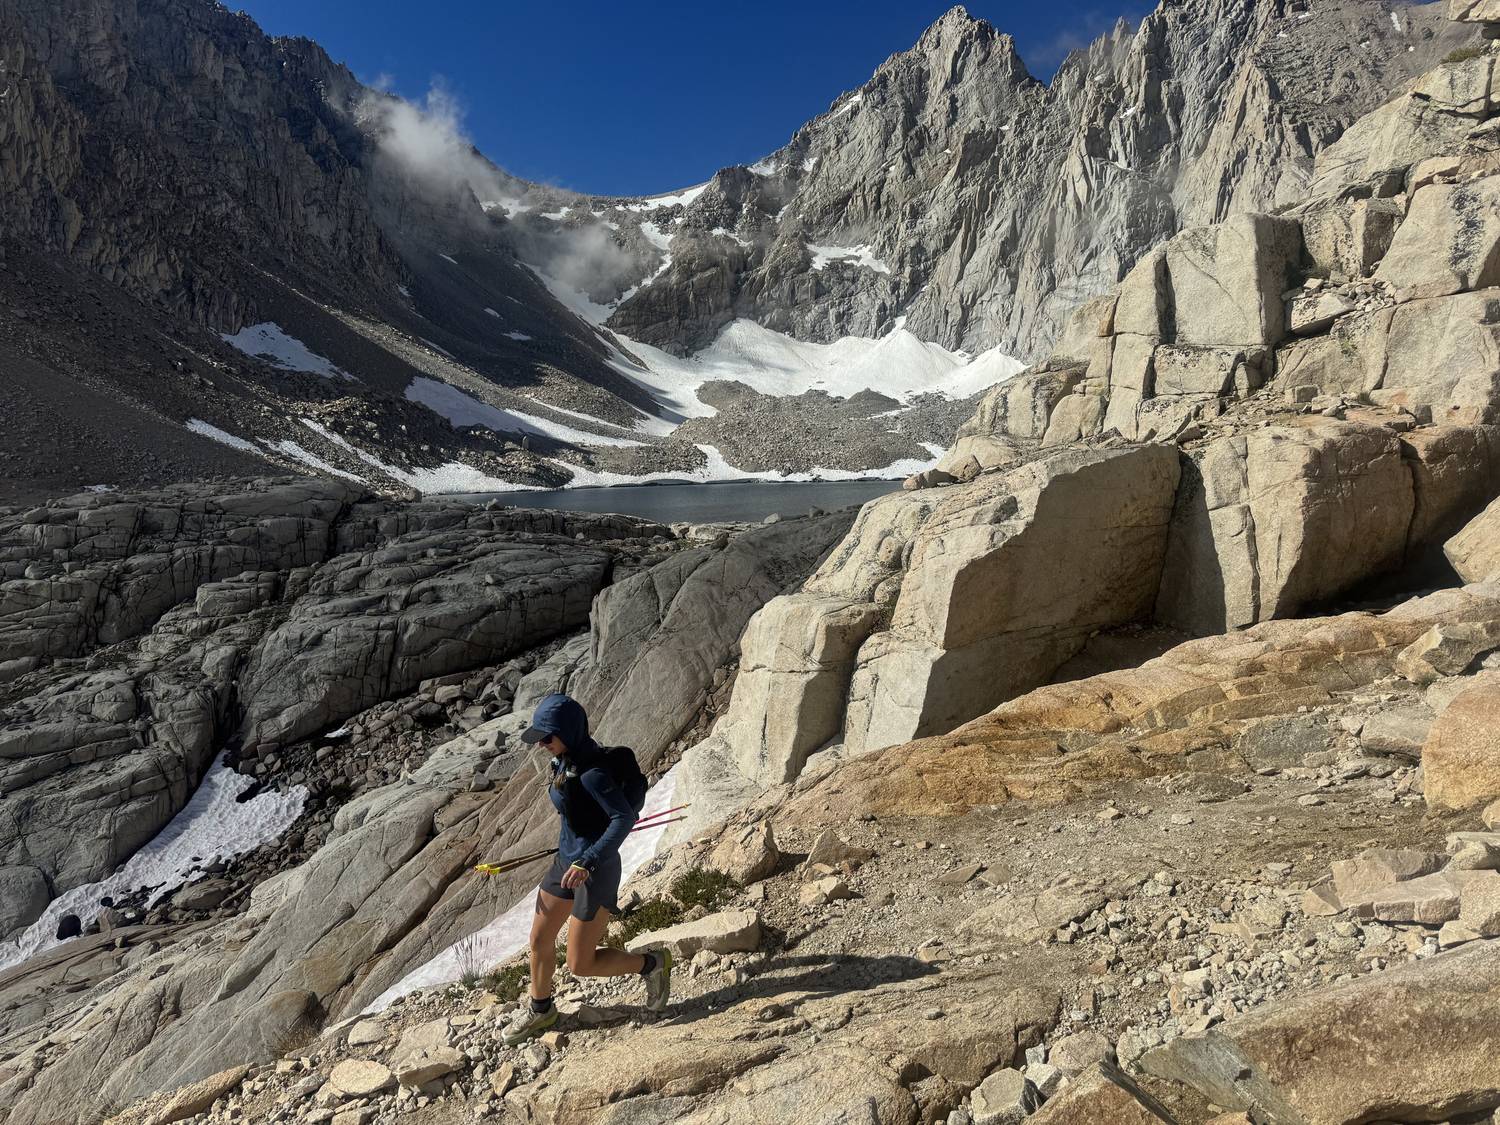
The summit is only halfway. All of that technical terrain you worked through on the way up is patiently waiting for your descent, and by then your feet and ankles are tired and your knees start taking the load. We see it time and time again, whether people use trekking poles or not.
It isn't about knee strength. It's about eccentric quad strength, your ability to absorb force moving downhill in a slow, controlled way. Glutes matter just as much, because they relieve pressure off the knee joint. The two work together to keep your knees in good alignment so you can get back to the trailhead without knee pain.
Train it directly:
- Reverse step-ups and step-downs, including band variations that drive glute engagement, until the pattern feels comfortable and familiar.
- Split squats and Bulgarian split squats, emphasizing the eccentric. These also build dorsiflexion, which matters for articulation walking downhill.
- Glute strength as its own priority, not an afterthought.
Do yourself a favor and train for the descent. Then, standing on the summit with an oxygen-deprived brain, you won't be worrying about how you're going to get down before the storm rolls in.
Pillar Three: The Engine
Here's what surprised us most about the trail. It's beautifully designed and the grade is mellow, about 11 percent. Even the dreaded 99 switchbacks run around 14 percent, which is not very steep. It's a cruiser of a trail by pitch alone.
It isn't the pitch that gets people. It's the altitude.
The good news is that a mellow, sustained grade is replicable anywhere in the world. If you're training in the flatlands or can't get out on trails often, set your treadmill between 12 and 15 percent and find a slow, steady, sustainable pace. That simulates the Whitney climb. Keep most of your aerobic hours easy and build duration over weeks. Our heart rate zones breakdown covers all five zones, how to apply them, and the max-heart-rate formula most watches get wrong.
Getting Acclimatized
We had zero head start. We're based in Ashland, Oregon at 2,000 feet, which gives us no advantage over someone coming straight from sea level.
So we built a week into the trip specifically for this. We spent time in the Eastern Sierra ahead of the climb following the classic protocol of climbing high and sleeping low. Touching higher altitude during the day stimulates and accelerates adaptation, and sleeping lower protects your sleep and recovery so your body has time to adapt.
Our protocol, night by night
Two weeks out, we climbed Mount Shasta via the north side and camped just shy of 10,000 feet. That was our first foray to high altitude for the year, and afterward we came back down and slept low.
Then we staged in the Eastern Sierra. Three nights in the 7,000 to 8,000 foot range in and around Mammoth Lakes and June Lake. Then up to a night above 11,000 feet, and our high point at 12,000 feet on a backpacking trip in the John Muir Wilderness. Then back down to Whitney Portal, around 8,000 feet, for the night before summit day.
Acclimatization
Climb high, sleep low
Read it one day at a time. The bar is how high we got that day, the tent is where we slept that night. July 3 is the whole idea in one column: we climbed Shasta to 14,179 feet, then drove home and slept at 2,365.
You want to arrive at the trailhead adapted and rested, not still working through a hard night at 12,000 feet.
The proof, measured
Our first night sleeping near 10,000 feet, our bodies were working overtime with a higher heart rate, lower blood oxygen, and worse quality sleep. Eight days later, sleeping 2,000 feet higher at 12,027 feet, resting heart rate was lower, blood oxygen had settled, and we slept two hours longer.
The data
Eight days apart
First night at altitude
Mount Shasta
9,931 FT
Eight days later
Eight days later
John Muir Wilderness
12,027 FT
Two thousand feet higher, a lower resting heart rate, and two more hours of sleep. That's acclimatization, measured.
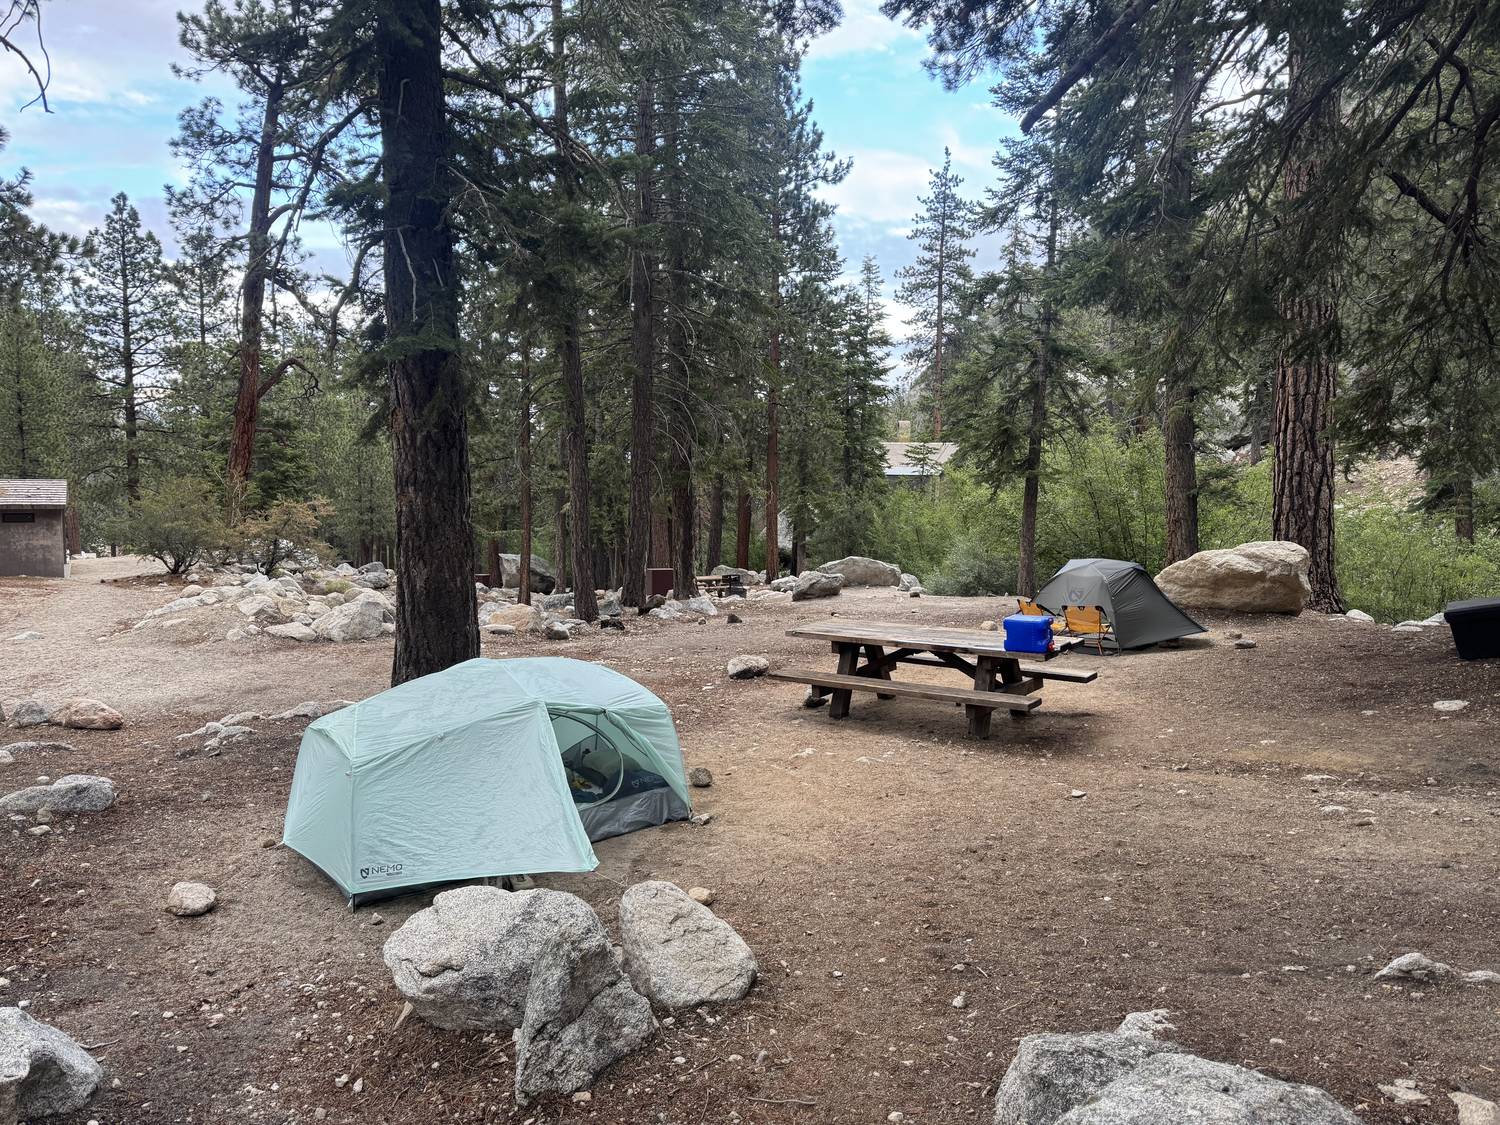
It takes weeks to do this properly. Three to five nights at altitude before your climb is what it takes to feel your best up there, and more is better. There's no shortcut and no way to speed it up. It takes exposure.
If you can't take a week off work
Most people can't, and that's fine. Here's how to think about it in tiers:
- Five or six nights. Get to the Eastern Sierra early. Sleep as high as is reasonable each night, do short hikes that go higher than where you sleep, and drop back down to Whitney Portal, around 8,000 feet, for the night before your climb.
- Two or three nights. Sleep at or above 7,000 feet for all of them. Lone Pine sits too low to do much for you. Hike to a higher point each day and come back down. This is the most common realistic scenario, and it helps.
- One night. Sleep as high as you can get to, arrive rested rather than straight off a long drive, and go in with a conservative turnaround time and an honest willingness to use it.
Altitude doesn't treat everyone the same
Mikey woke up with a slight headache after our first night backpacking above 11,000 feet. Nothing severe, and it faded through the day. The next night at 12,000 feet, Emily's blood oxygen dipped lower than his, and both of us felt strong and healthy throughout.
Regardless of your training or where you're coming from, altitude can hit anyone at any time. Watch your own body rather than your partner's.
One note on sleep
Don't expect to sleep well the night before summit day. There are nerves, an alarm set for the middle of the night, and a sleep pattern that's already out of whack. That's normal. At the Portal the night before our climb we got 5.4 and 4.7 hours, the two worst nights of the entire trip, and the day still went fine.
It isn't the night before that matters. It's the night before the night before, and really the whole week before. Bank your sleep early and protect recovery in the days leading up.
On altitude medication
There are medications that help offset the effects of altitude, and you should talk to your doctor before taking anything. At the end of the day we lean toward the natural, tried-and-true method, because there's no pill that replaces putting in the time.
Fueling At Altitude
Altitude affects both your nutritional needs and your appetite. Up high your body relies heavily on carbohydrate, so a keto approach won't do you any favors on Whitney. You need carbs early and often.
Start carb loading about three days out. Slightly increase carbohydrate intake with simple, familiar foods and dial back the fiber a little. We ate a lot of rice, beans, pasta, fruit, and vegetables to top off glycogen.
On the climb, eat on a schedule. A single sandwich on the summit isn't going to cut it. You want carbohydrate on a steady drip every 45 to 90 minutes at the outside.
What we carried:
- Tailwind Endurance Fuel in our bladders, about 50 grams of carbohydrate each
- Dried fruit, Medjool dates and mango, within reach on our running vests
- Precision Fuel gels, palatable and easy to get down
- Salty and crunchy options, pretzels, crackers, a few cookies
- Electrolytes in soft flasks on our vests
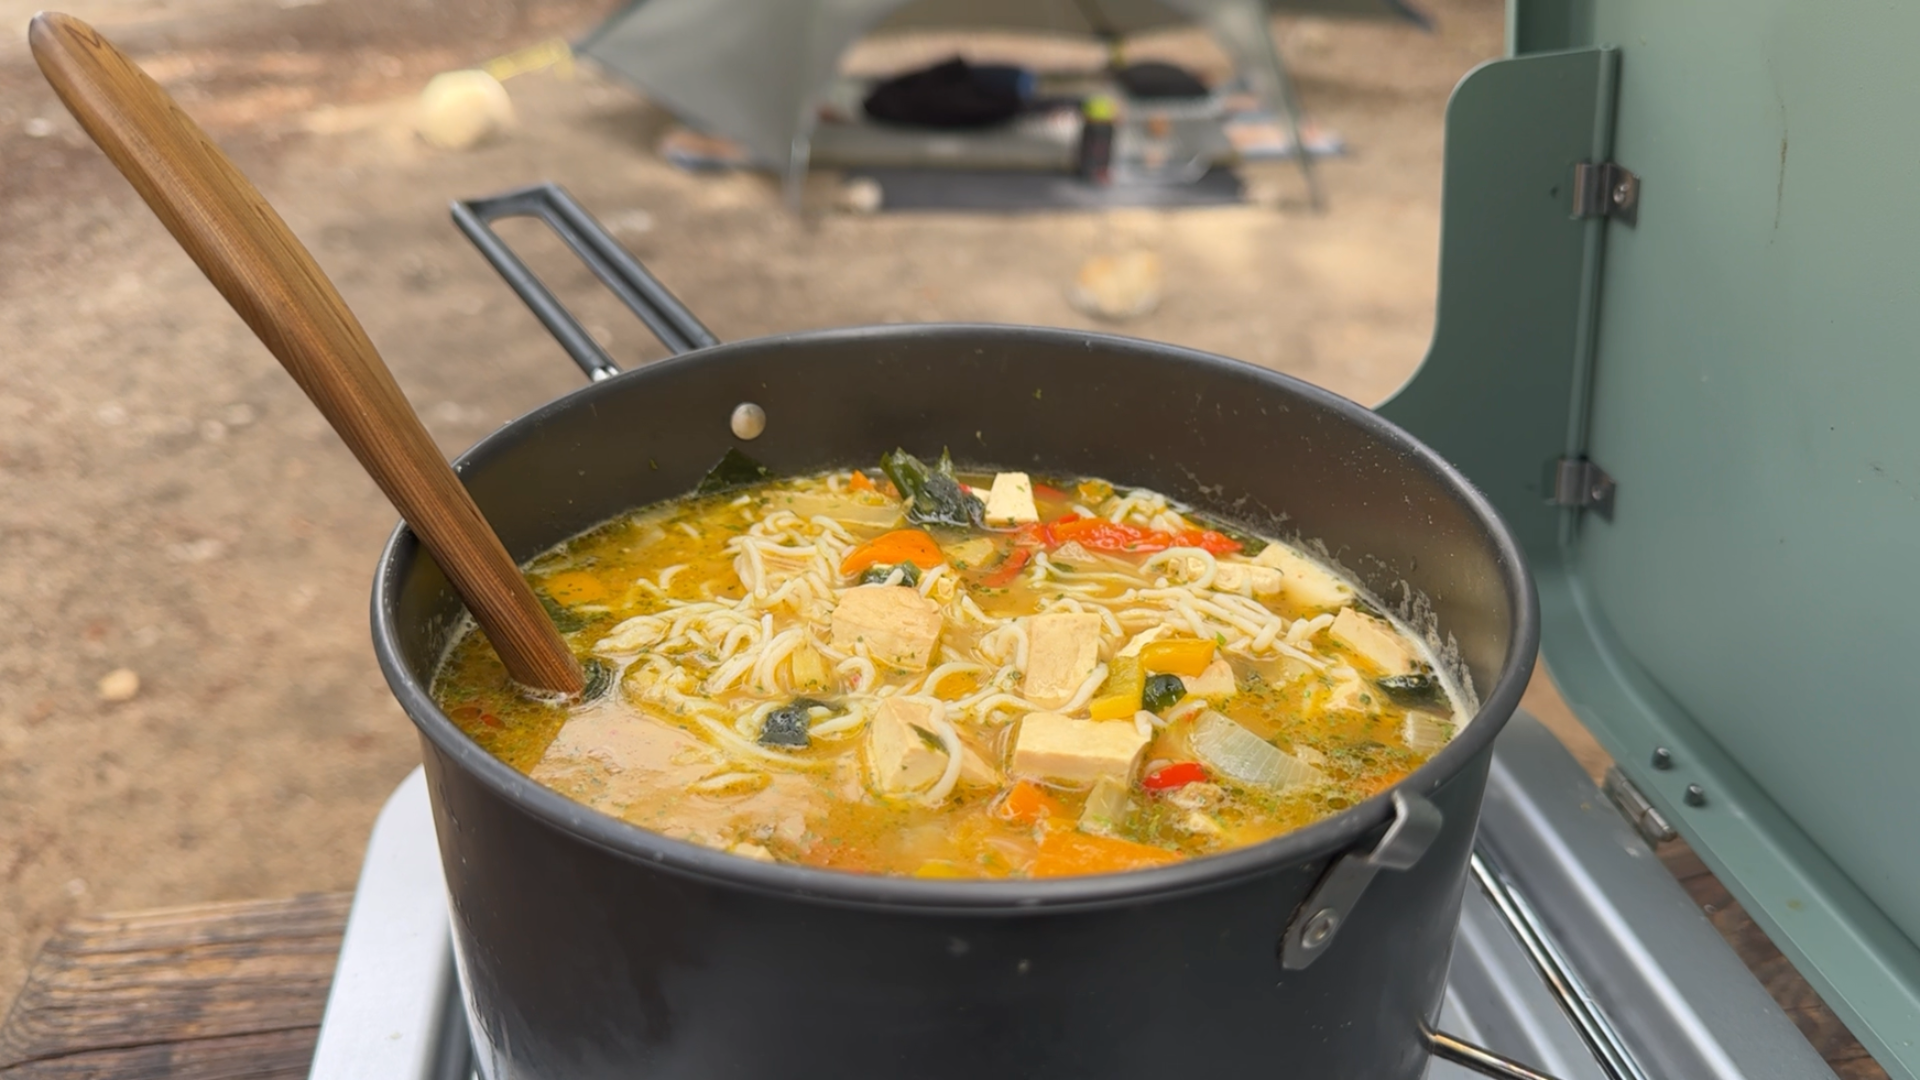
The theme is palatability and variety. What sounds good at sea level can sound terrible at high altitude, so bring a diverse mix and keep it accessible enough to eat on the move instead of stopping every thirty minutes like most people.
Summit Day
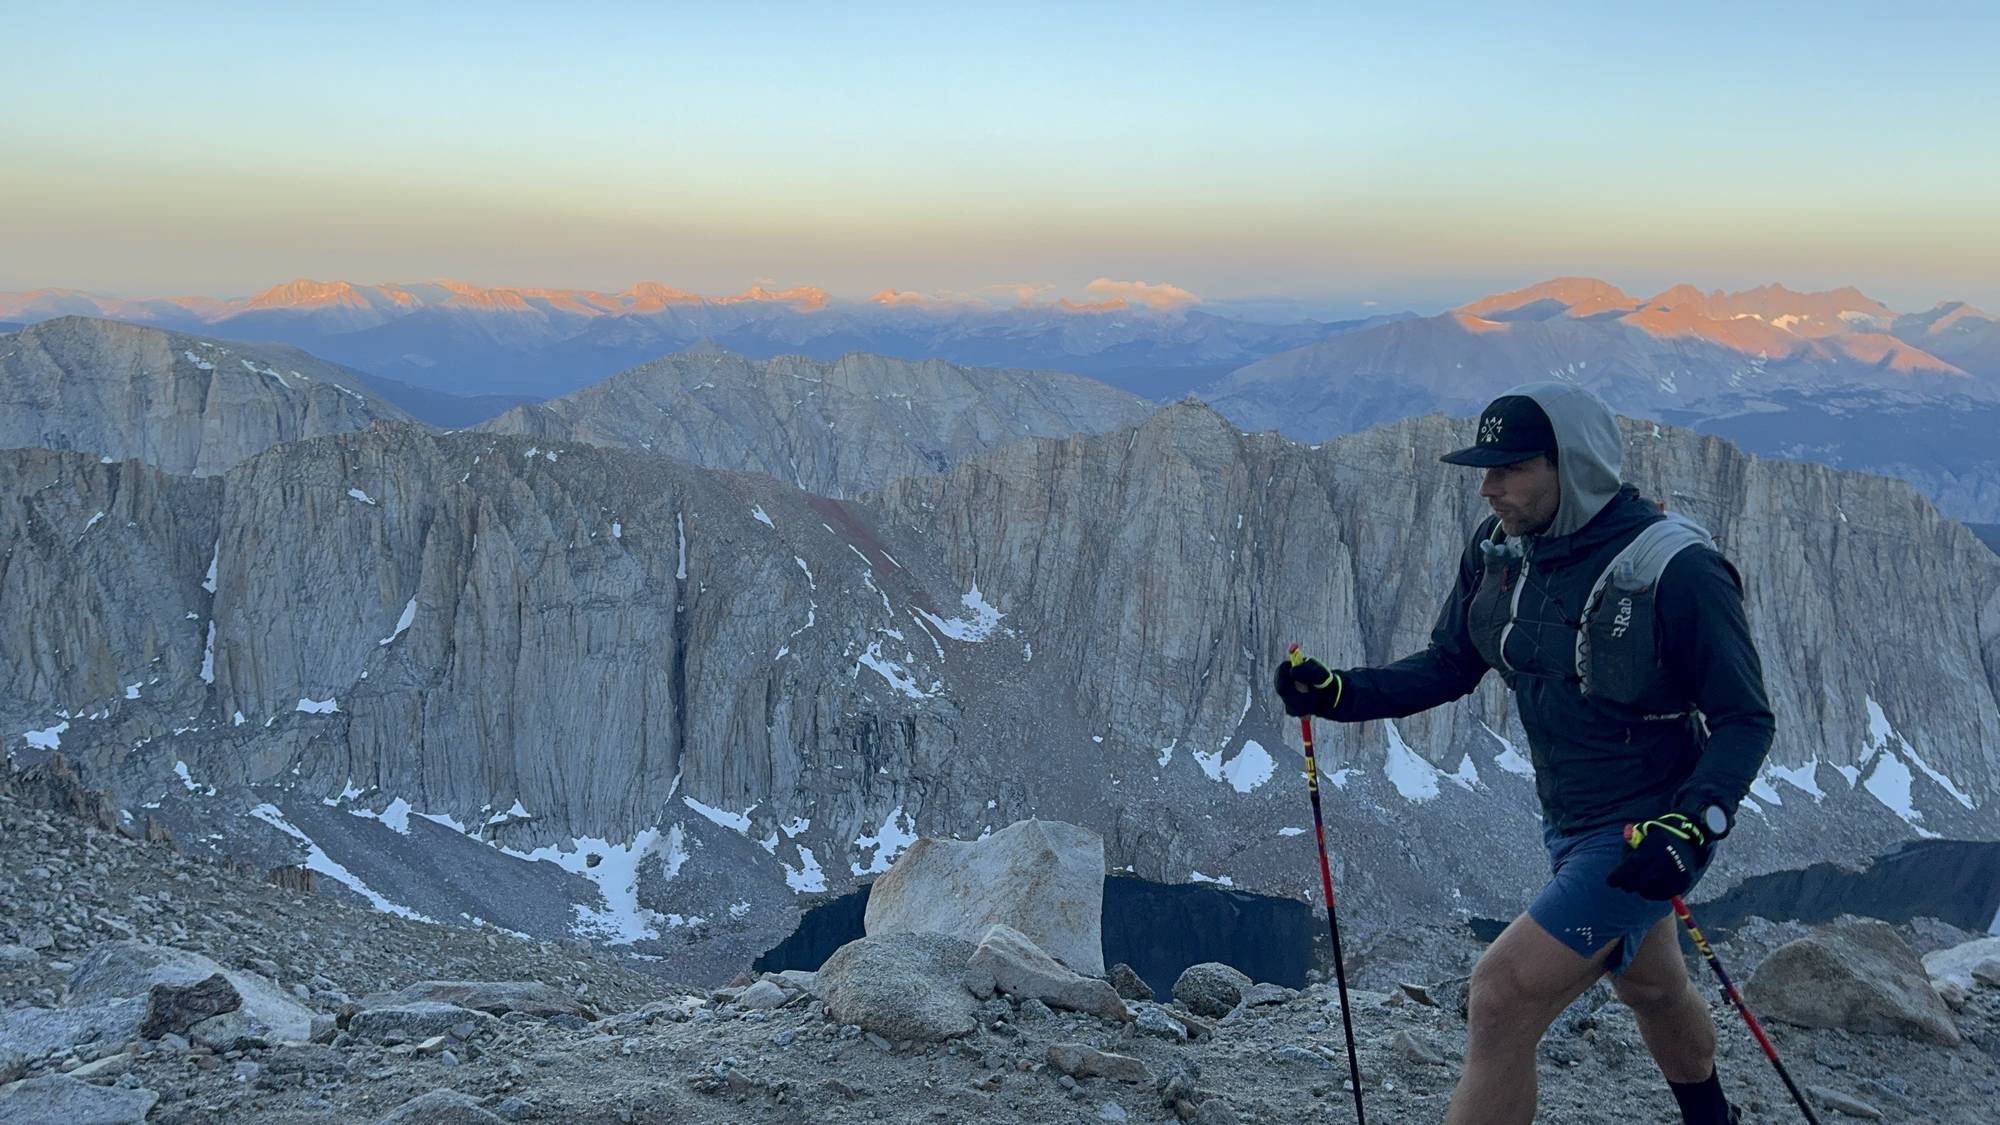
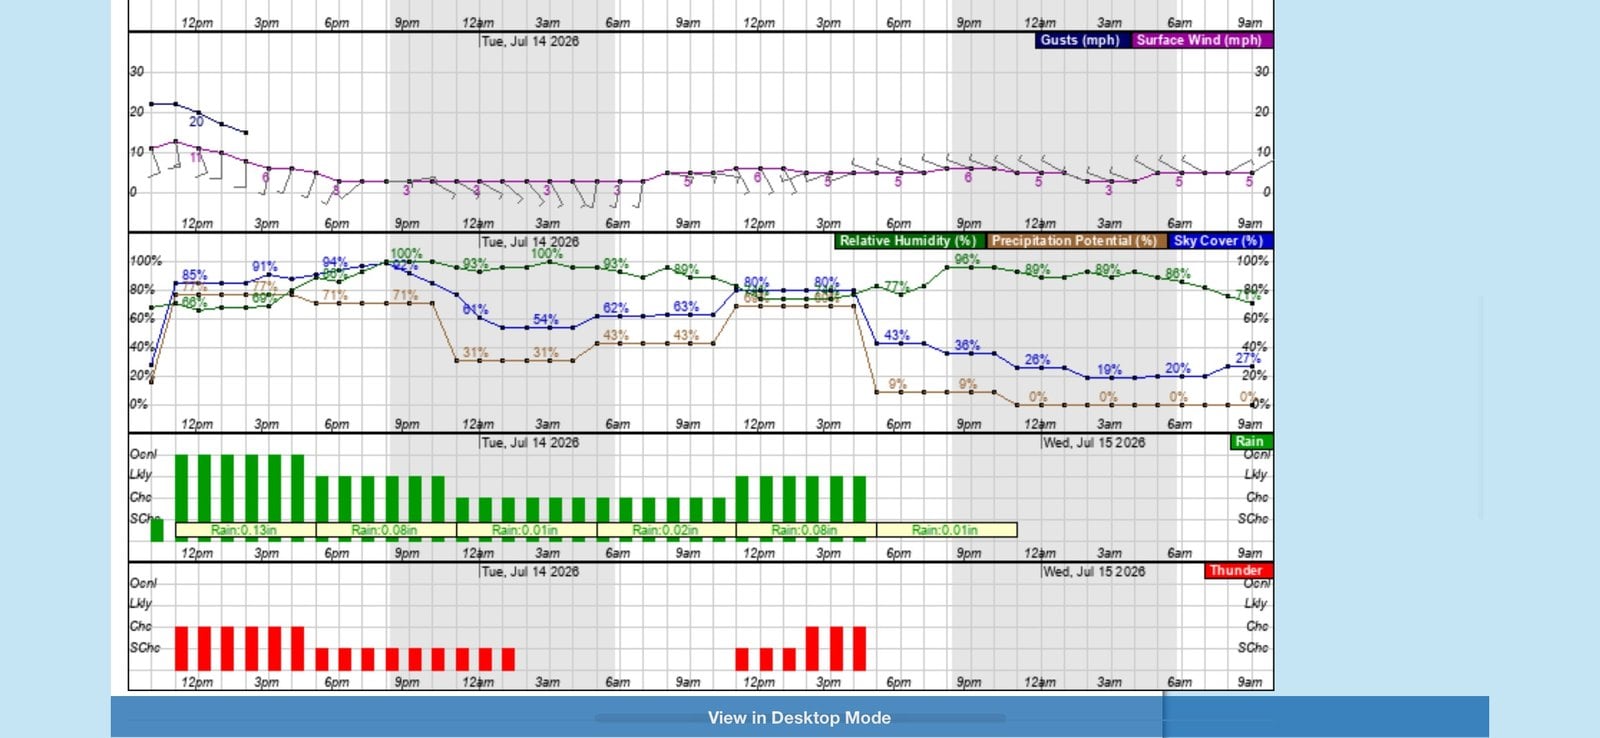
Start early, in the dark. Partly because you'll move slowly at altitude, and partly because of the near-daily afternoon thunderstorm hazard. Most people are on the trail well before 3 a.m. Watch the forecast for days beforehand, not hours.
The lower trail is fairly smooth until you enter the Whitney Zone, where it gets more technical with more rock and more creek crossings. Be ready for it, because it all comes before the switchbacks.
The 99 switchbacks. Nearly every trail review complains about them, and it isn't because they're steep or technical. People are hitting the 12,000-foot wall. From years of taking people from sea level to 14,000 feet, right around 12,000 is where hikers start to bonk. Acclimatization is what buys you the bandwidth to feel decent through this section.
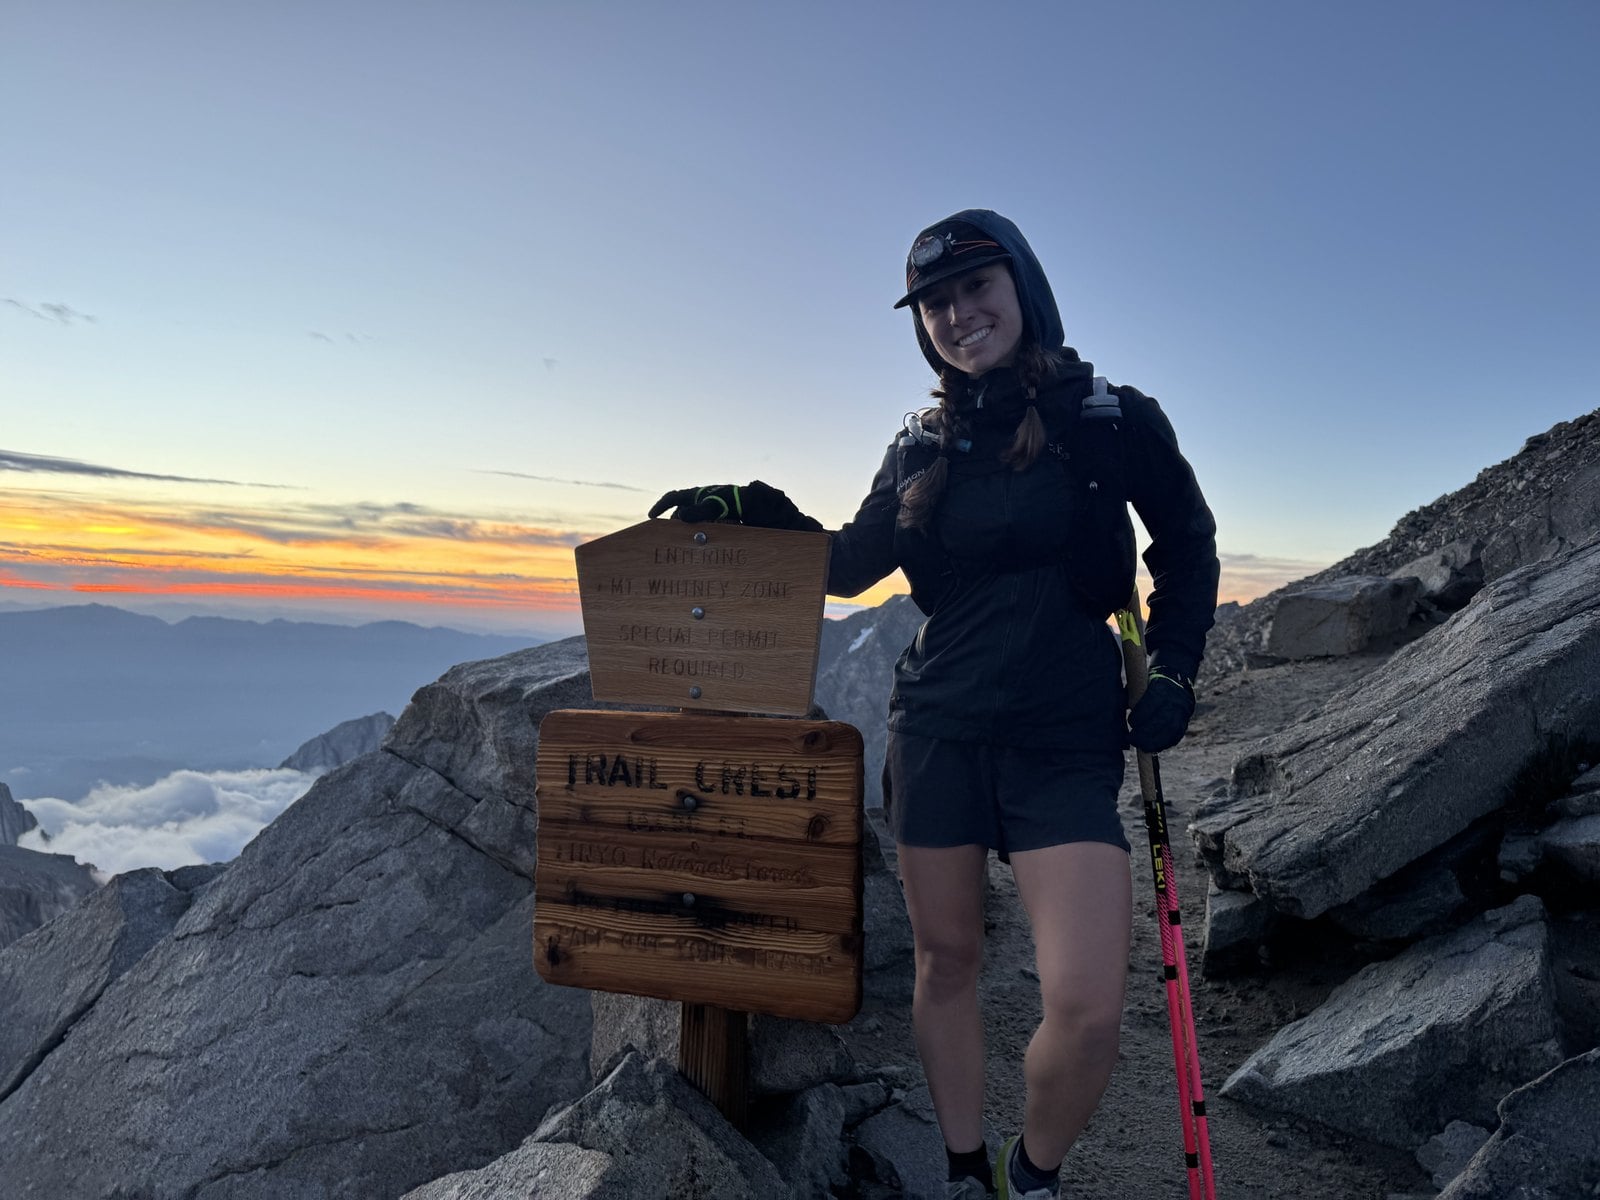
Trail Crest to the summit. Honestly, the switchbacks aren't the hardest part. Coming around the corner into Sequoia National Park you have about two miles to go. It doesn't sound like much. At 13,600 feet, gassed from the switchbacks, on the most technical and exposed terrain of the whole trail, it becomes genuinely dangerous. This is where people slow down and start taking too many breaks.
The summit. When you aren't acclimatized, you have a shelf life up high, and you don't want to find it at 14,500 feet. Don't linger for an hour. Enjoy the views, take your photo, eat a snack, and get going. The longer you stay up high, the worse you're going to feel.
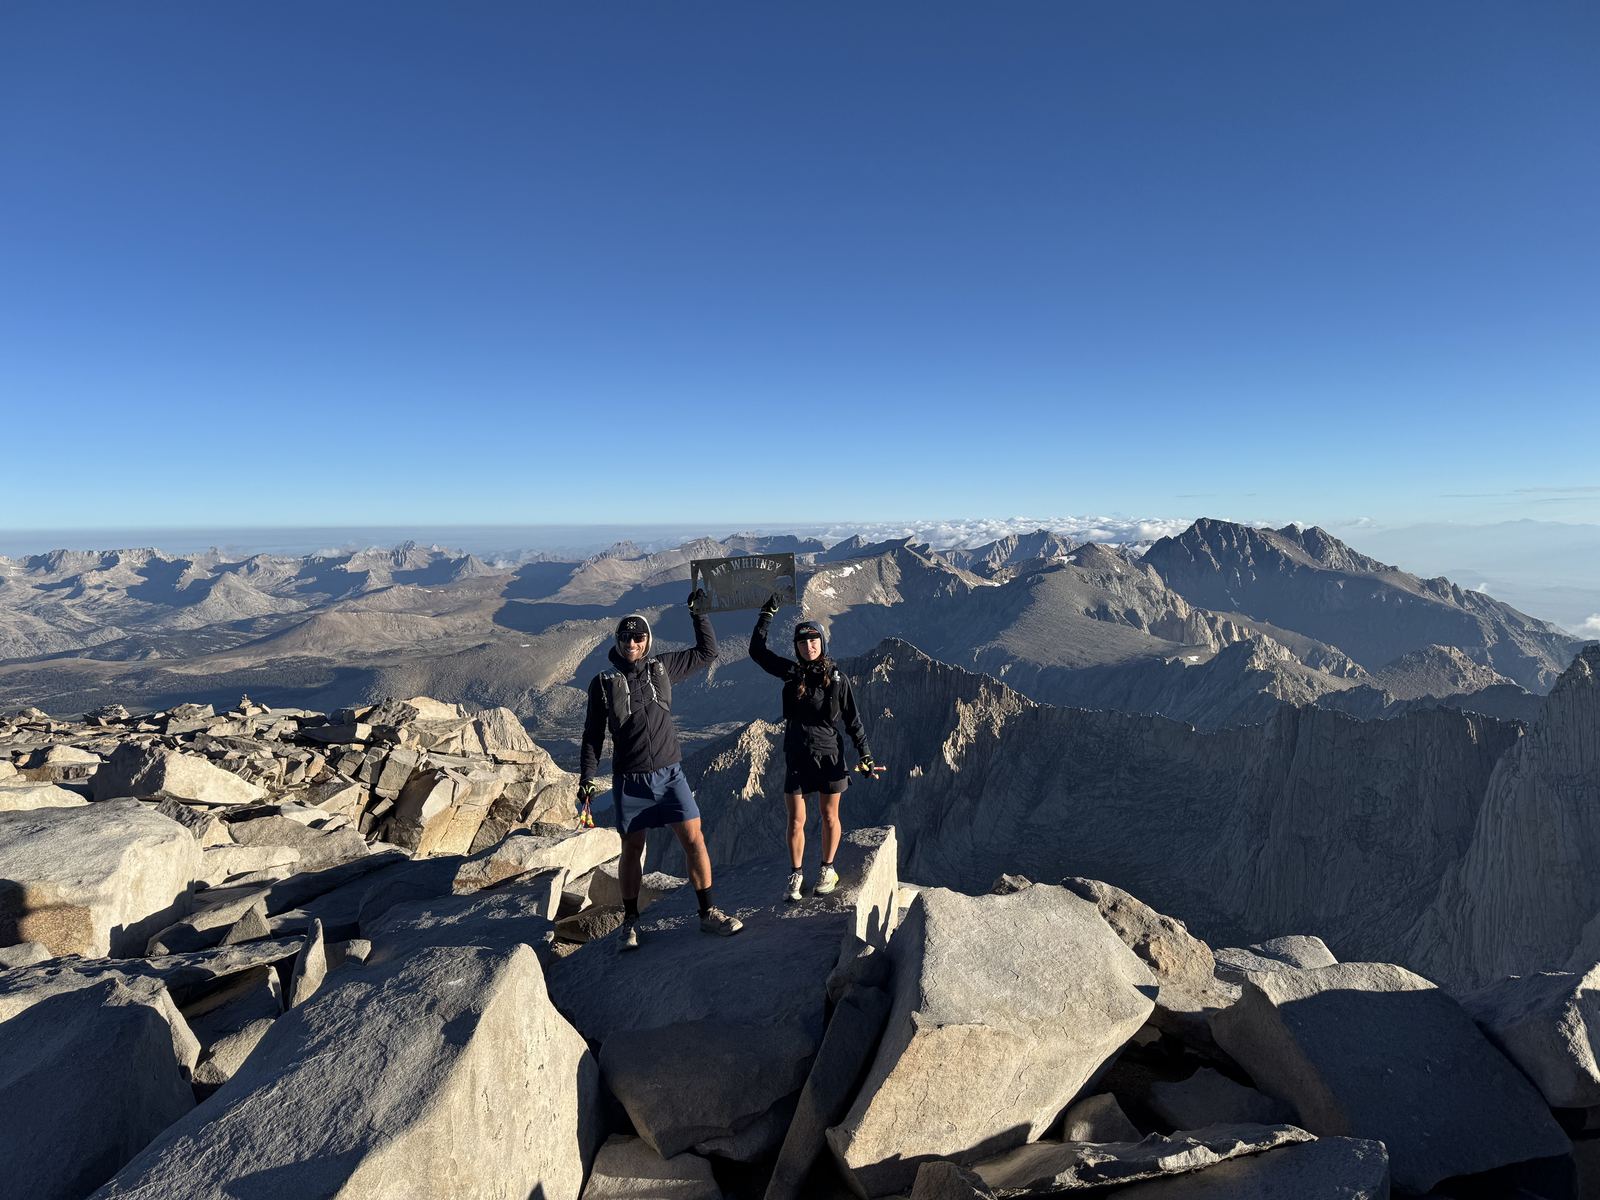
The descent takes about as long as the climb, on legs that have already worked all day.
Decisions Over Fitness
A few rules of thumb:
- Assess yourself accurately. Understand where you actually are and be honest with yourself and your group. Don't let ego guide your decision making.
- Set a turnaround time before you start. Ours were simple and non-negotiable: not on the summit by 9 a.m., thunderclouds forming, or thunder heard, and we were going down.
- Keep your team together. We made a pact to climb and descend together no matter what. Never park someone in the mountains and tell them you'll be back in twenty minutes, and never send someone down alone, especially if they're feeling sick. You stick with the people you started with, and you check on others on the trail, because that's what a responsible person does.
- Don't stash your pack for the summit push. It holds your layers, water, and food, and weather at Trail Crest can change while you're on the ridge above it.
- Check conditions before you go. Inyo National Forest posts active forest orders and alerts for the Whitney Zone, and a permit is required for both day and overnight use. Check the Inyo National Forest alerts page and the forecast before your trip.
It's a bit cliché and it's worth saying. Barring some catastrophic geological event, Mount Whitney will be there another day. It's okay to turn around. There's more growth in making that decision well than in pushing to the summit for a photo. Know when it's your time to go up, and know when it's your time to go down.
Steward The Place
The way we treat the mountains is a direct reflection of how we treat ourselves, and these places deserve immense respect. It's hard to be somewhere that beautiful and see dozens of used wag bags left behind.
Grab a free wag bag at the trailhead, understand how to use it, and be prepared to pack it out.
Your Training Checklist
8 to 12 weeks out
- Progressive strength work: reverse step-downs, split squats, single-leg control, glutes
- Ankle, foot, and balance work two to three times per week
- Build your aerobic base, most hours easy
- One long hike weekly with vert and a light pack
4 to 6 weeks out
- Add slow eccentric loading for the descent
- Treadmill at 12 to 15 percent incline, building duration at a steady, sustainable pace
- Add plyometrics and low-light balance work
- Break in every piece of gear you plan to carry
2 to 3 weeks out
- Get to altitude if you can, ideally an overnight above 9,000 feet
- Test your full fueling plan on a long training day
- Practice an alpine start in the dark on rough ground
Final week
- Bank sleep early in the week, not the night before
- Three to five nights at altitude is ideal, two nights at or above 7,000 feet is the minimum
- Short acclimatization hikes, going higher than where you sleep
- Carb load starting about three days out, simple and familiar, lower fiber
- Sleep low the night before, around 8,000 feet at Whitney Portal
- Confirm your turnaround criteria out loud with your group
- Check Inyo alerts, conditions, and the forecast
Common Questions
How long does it take to hike Mount Whitney in a day?
It depends entirely on how fast you move. Most people take twelve to sixteen hours or more for the 22 miles. We did it in nine, moving quickly and still enjoying it. Plan for the long end and be pleased if you beat it.
What is the success rate on Mount Whitney?
There's no official count. Common estimates put it around one in three, with altitude cited as the most frequent reason people turn back.
How steep are the 99 switchbacks?
About 14 percent average grade. The pitch is moderate. The altitude is what makes that section hard, and around 12,000 feet is where most hikers start to struggle.
Do I need to acclimatize for Mount Whitney?
It depends on how good you want to feel up there. If you want to feel your best, yes: three to five nights at altitude beforehand, and more is better. The alternative is moving fast enough to get up and down before altitude catches you, which is a different plan with different risks. At an absolute minimum, sleep two nights at or above 7,000 feet.
Is Mount Whitney harder than Half Dome?
For most hikers, yes. Half Dome tops out around 8,800 feet, so Whitney's summit sits roughly 5,700 feet higher. It's also longer, more exposed, and it holds you at altitude for hours rather than minutes.
Train With OAT
Mount Whitney rewards the people who prepared for the whole day, not just the climb. If you want more guidance in your preparation, and actual humans helping you every step of the way, we have programs built exactly for that.
The Mount Whitney Field Guide
A detailed gear list and trip-planning template to help you prepare for your Mount Whitney climb.
- Full gear checklist
- Nutrition, hydration, and acclimatization plans
- Turnaround planner with decision-making guidelines
- NOAA weather forecast links
- Official Inyo permit, conditions, and alert links
▼ Where should we send it?
Free 8-page PDF. Printable and fillable.
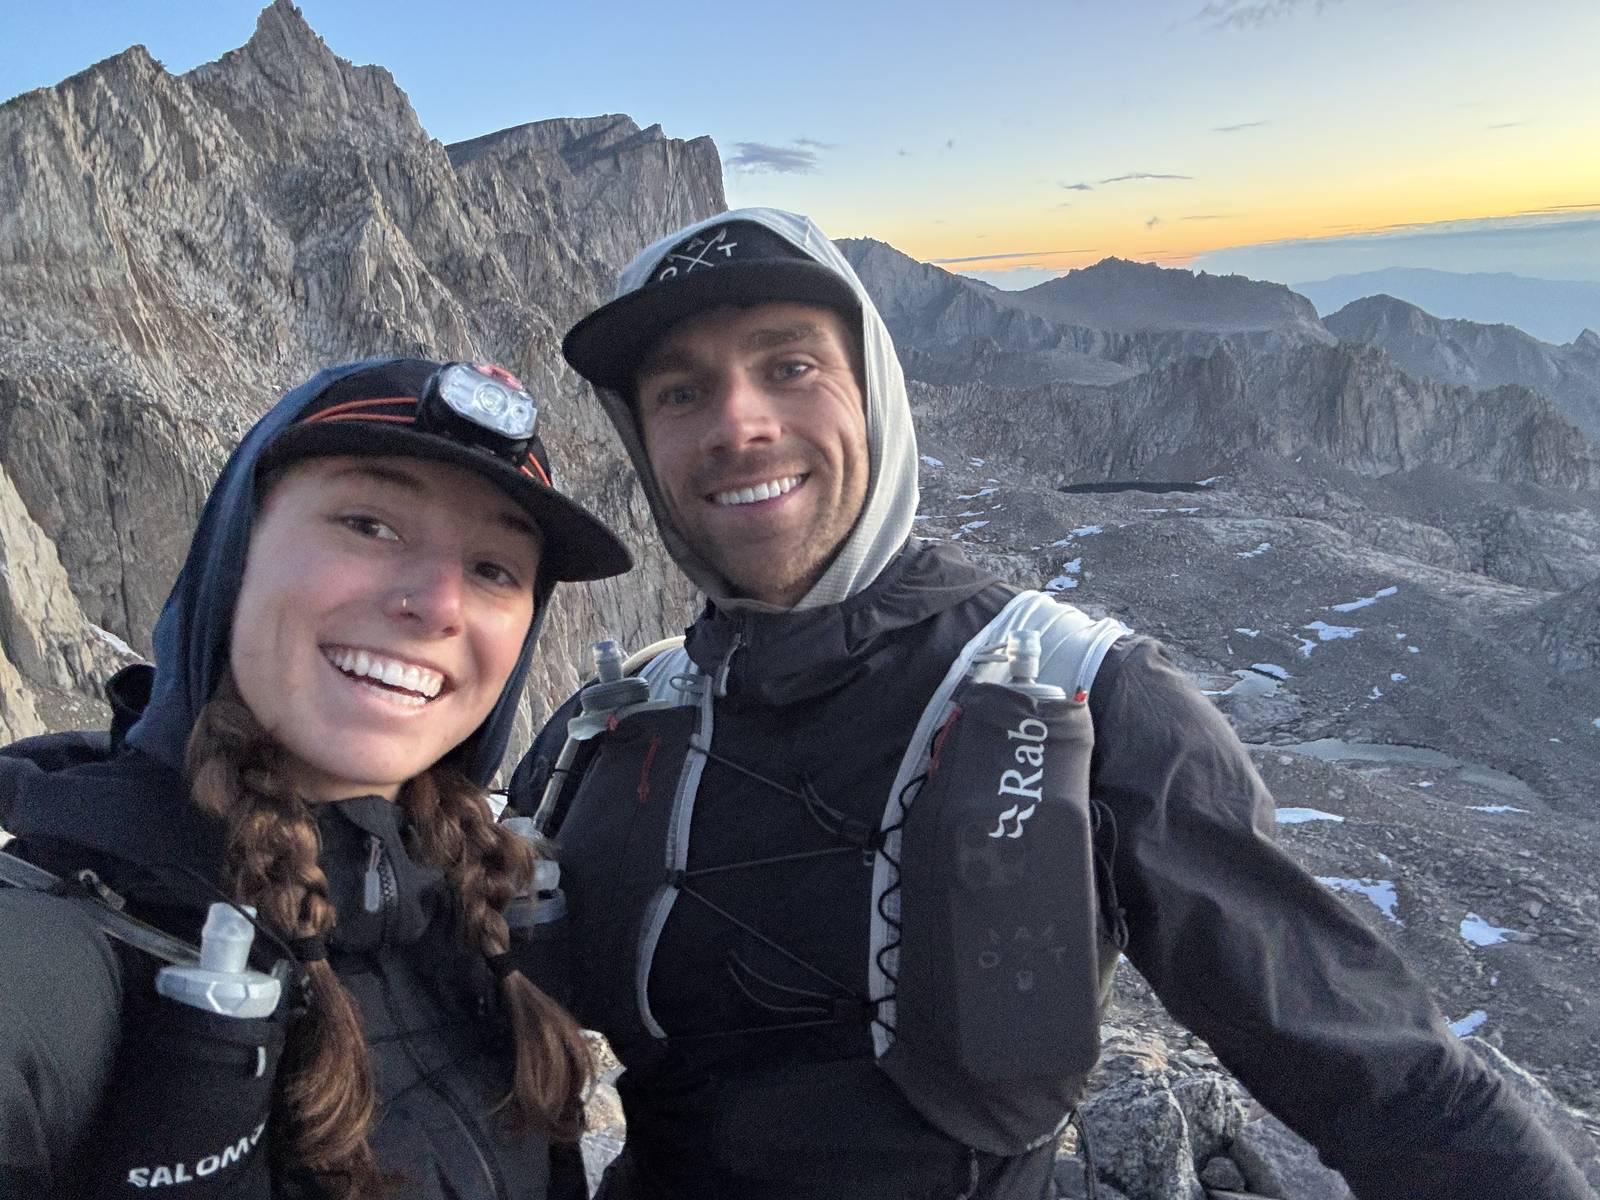
Nobody should be celebrating on the summit. You're only halfway. The celebration belongs back at camp, with a cold drink, a swim in the creek, and the afterglow of a day that went well. That's what you're training for. The work is getting back down.
Make good decisions, stay safe out there, and we'll see you on the trail.