
How to Use Trekking Poles
A lot of people carry them. Very few use them well. Here is the how, the when, and what the research actually says.
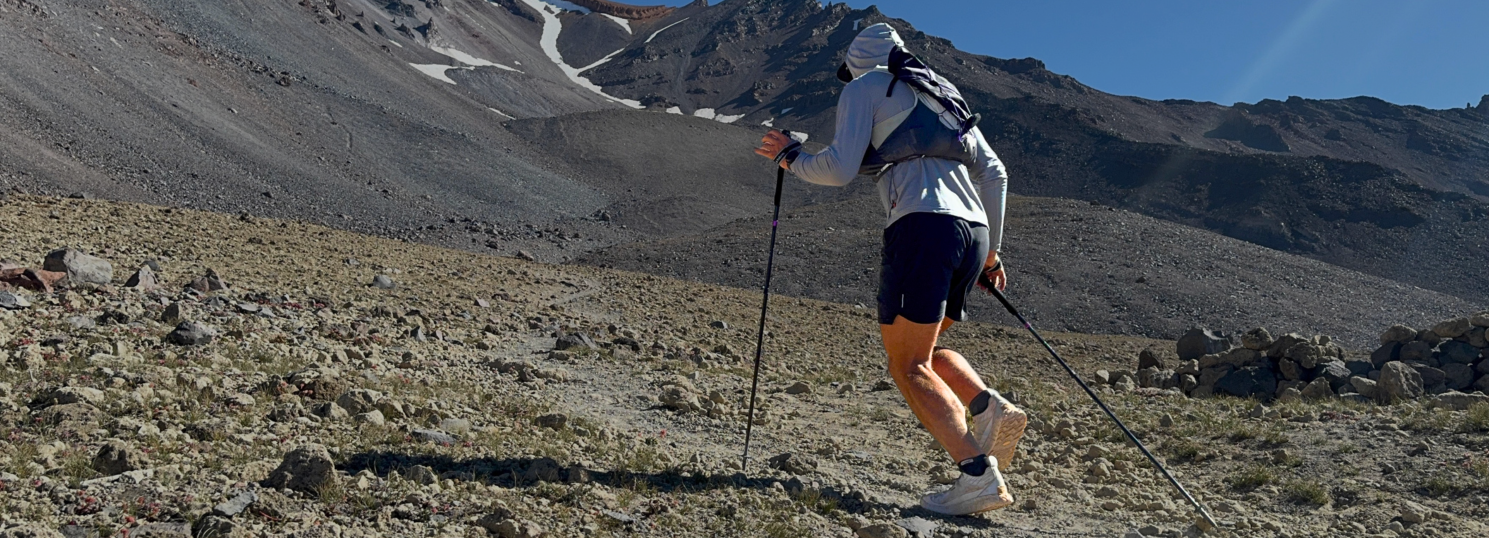
Trekking poles are one of the most common tools in the mountains, and one of the most misused. Most hikers own a pair, clip them to a pack, and never really learn to use them. Used well, they take real load off your knees, save your legs on long days, and keep a slip from becoming a fall.
This is a how-to, not a buyer's guide. We are not going to tell you which brand to buy. Instead we cover whether you should be using poles at all, what actually matters in a pair, how to use them efficiently on real terrain, and what the peer-reviewed research says about the trade-offs. Start with the full video breakdown, then dig into the details below.
One: Know the Tool
Before you can use poles well, it helps to understand what you are holding. There are a lot of options, but it all comes down to technique, so do not let decision fatigue set in. Start simple and refine.
The main types
- Fixed, the "Fixie." A classic ski-pole build. Durable, simple, and cheap, with nothing to slip. Heavier, and no length adjustment.
- 2 to 3 piece adjustable. The workhorse. Usually aluminum, bomber, adjustable, and packable. Hard to beat for all-around use.
- Carbon Z-pole. Folds down tiny and is very light, which is great for travel and running. Pricier and less durable.
- Hybrid Z-pole. Folds small and still adjusts. The best of both worlds.
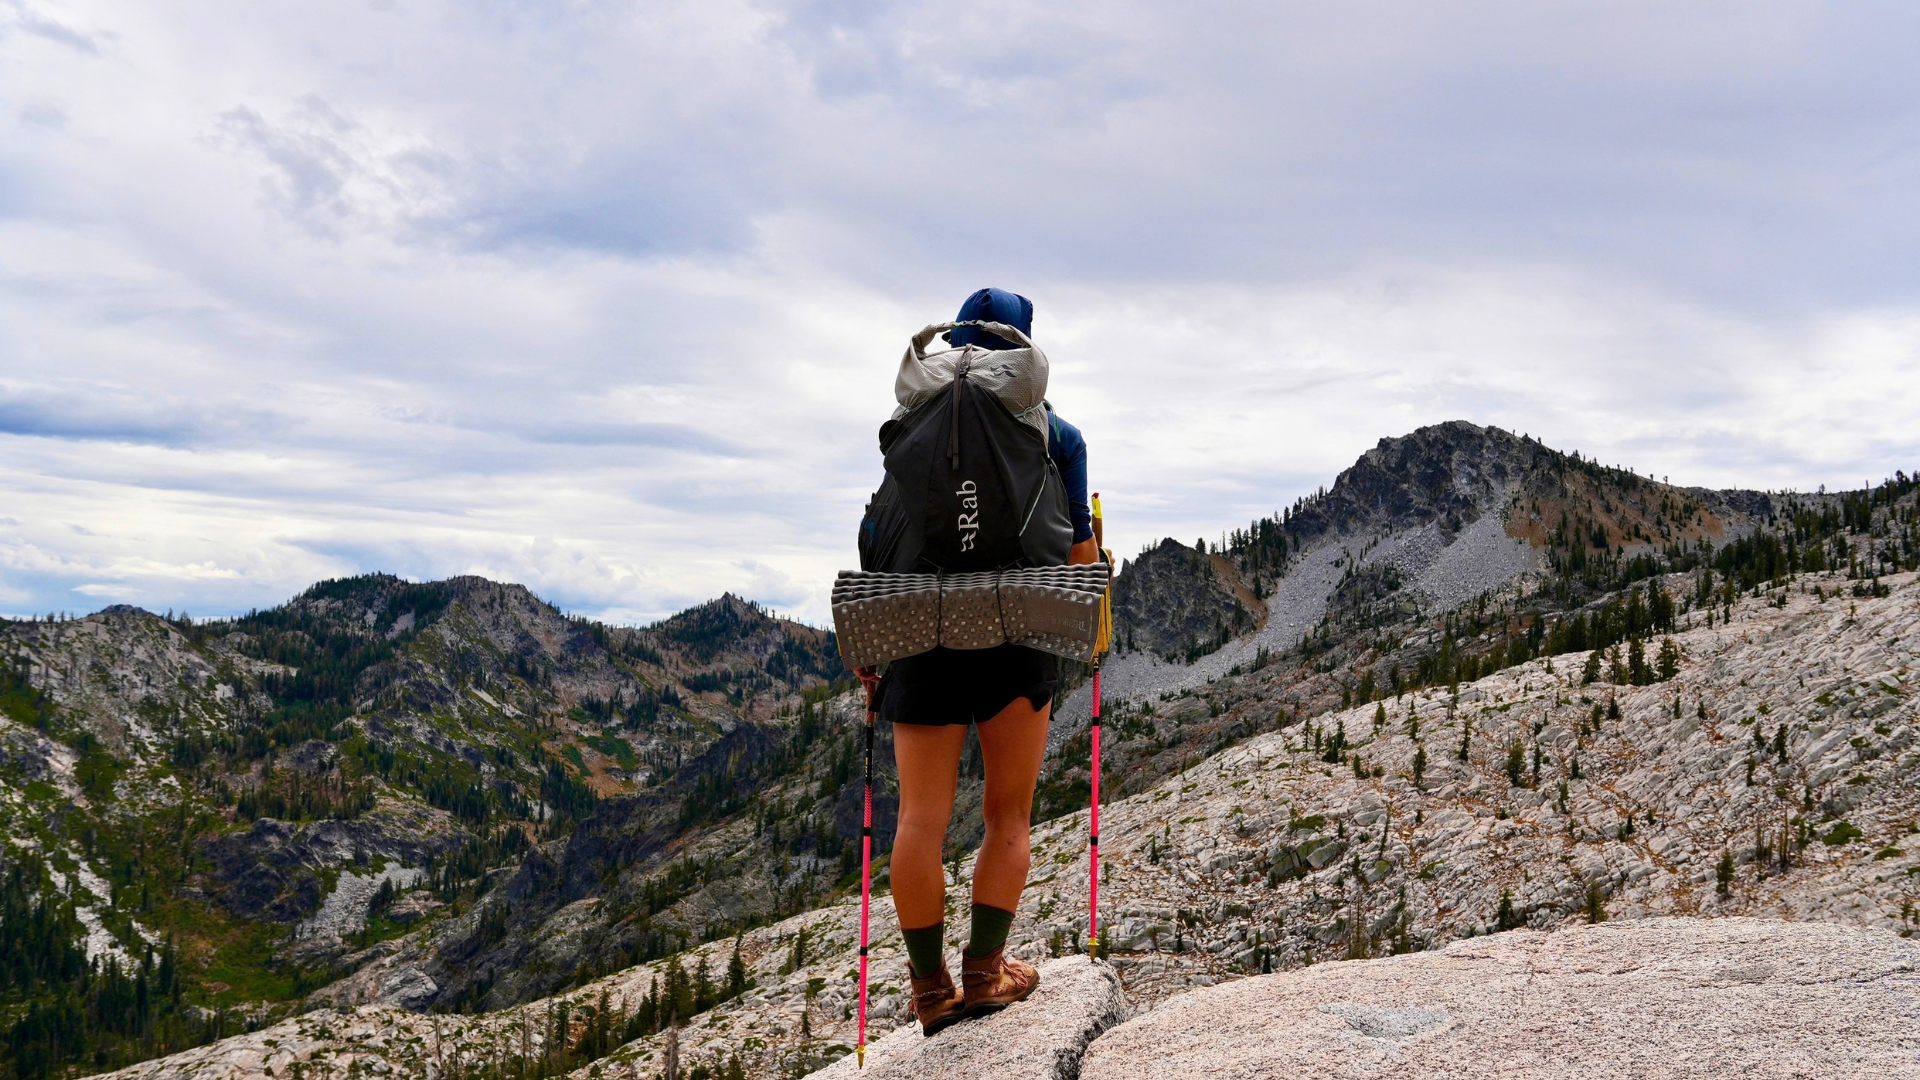
Two kinds of weight
Everyone thinks about total weight, what the pole reads on a scale and what you feel carrying it. Fewer people think about swing weight, how heavy the pole feels every time you move it forward. That is the sneaky one.
The rest of the anatomy is worth a quick tour. Grips come in cork or foam, mostly personal preference. Baskets keep the tip from punching into soft ground. Tips are usually carbide for grip on rock and ice, with rubber covers for pavement and sensitive slickrock. And the straps, which almost everyone gets wrong. More on those next.
Two: How to Use Them
Straps are a load-transfer tool
This is the number one thing people get wrong. Straps are not there to dangle the poles off your wrists between water breaks. They are a mechanism for transferring load off your hands.
Start at 90 degrees, then stay dynamic
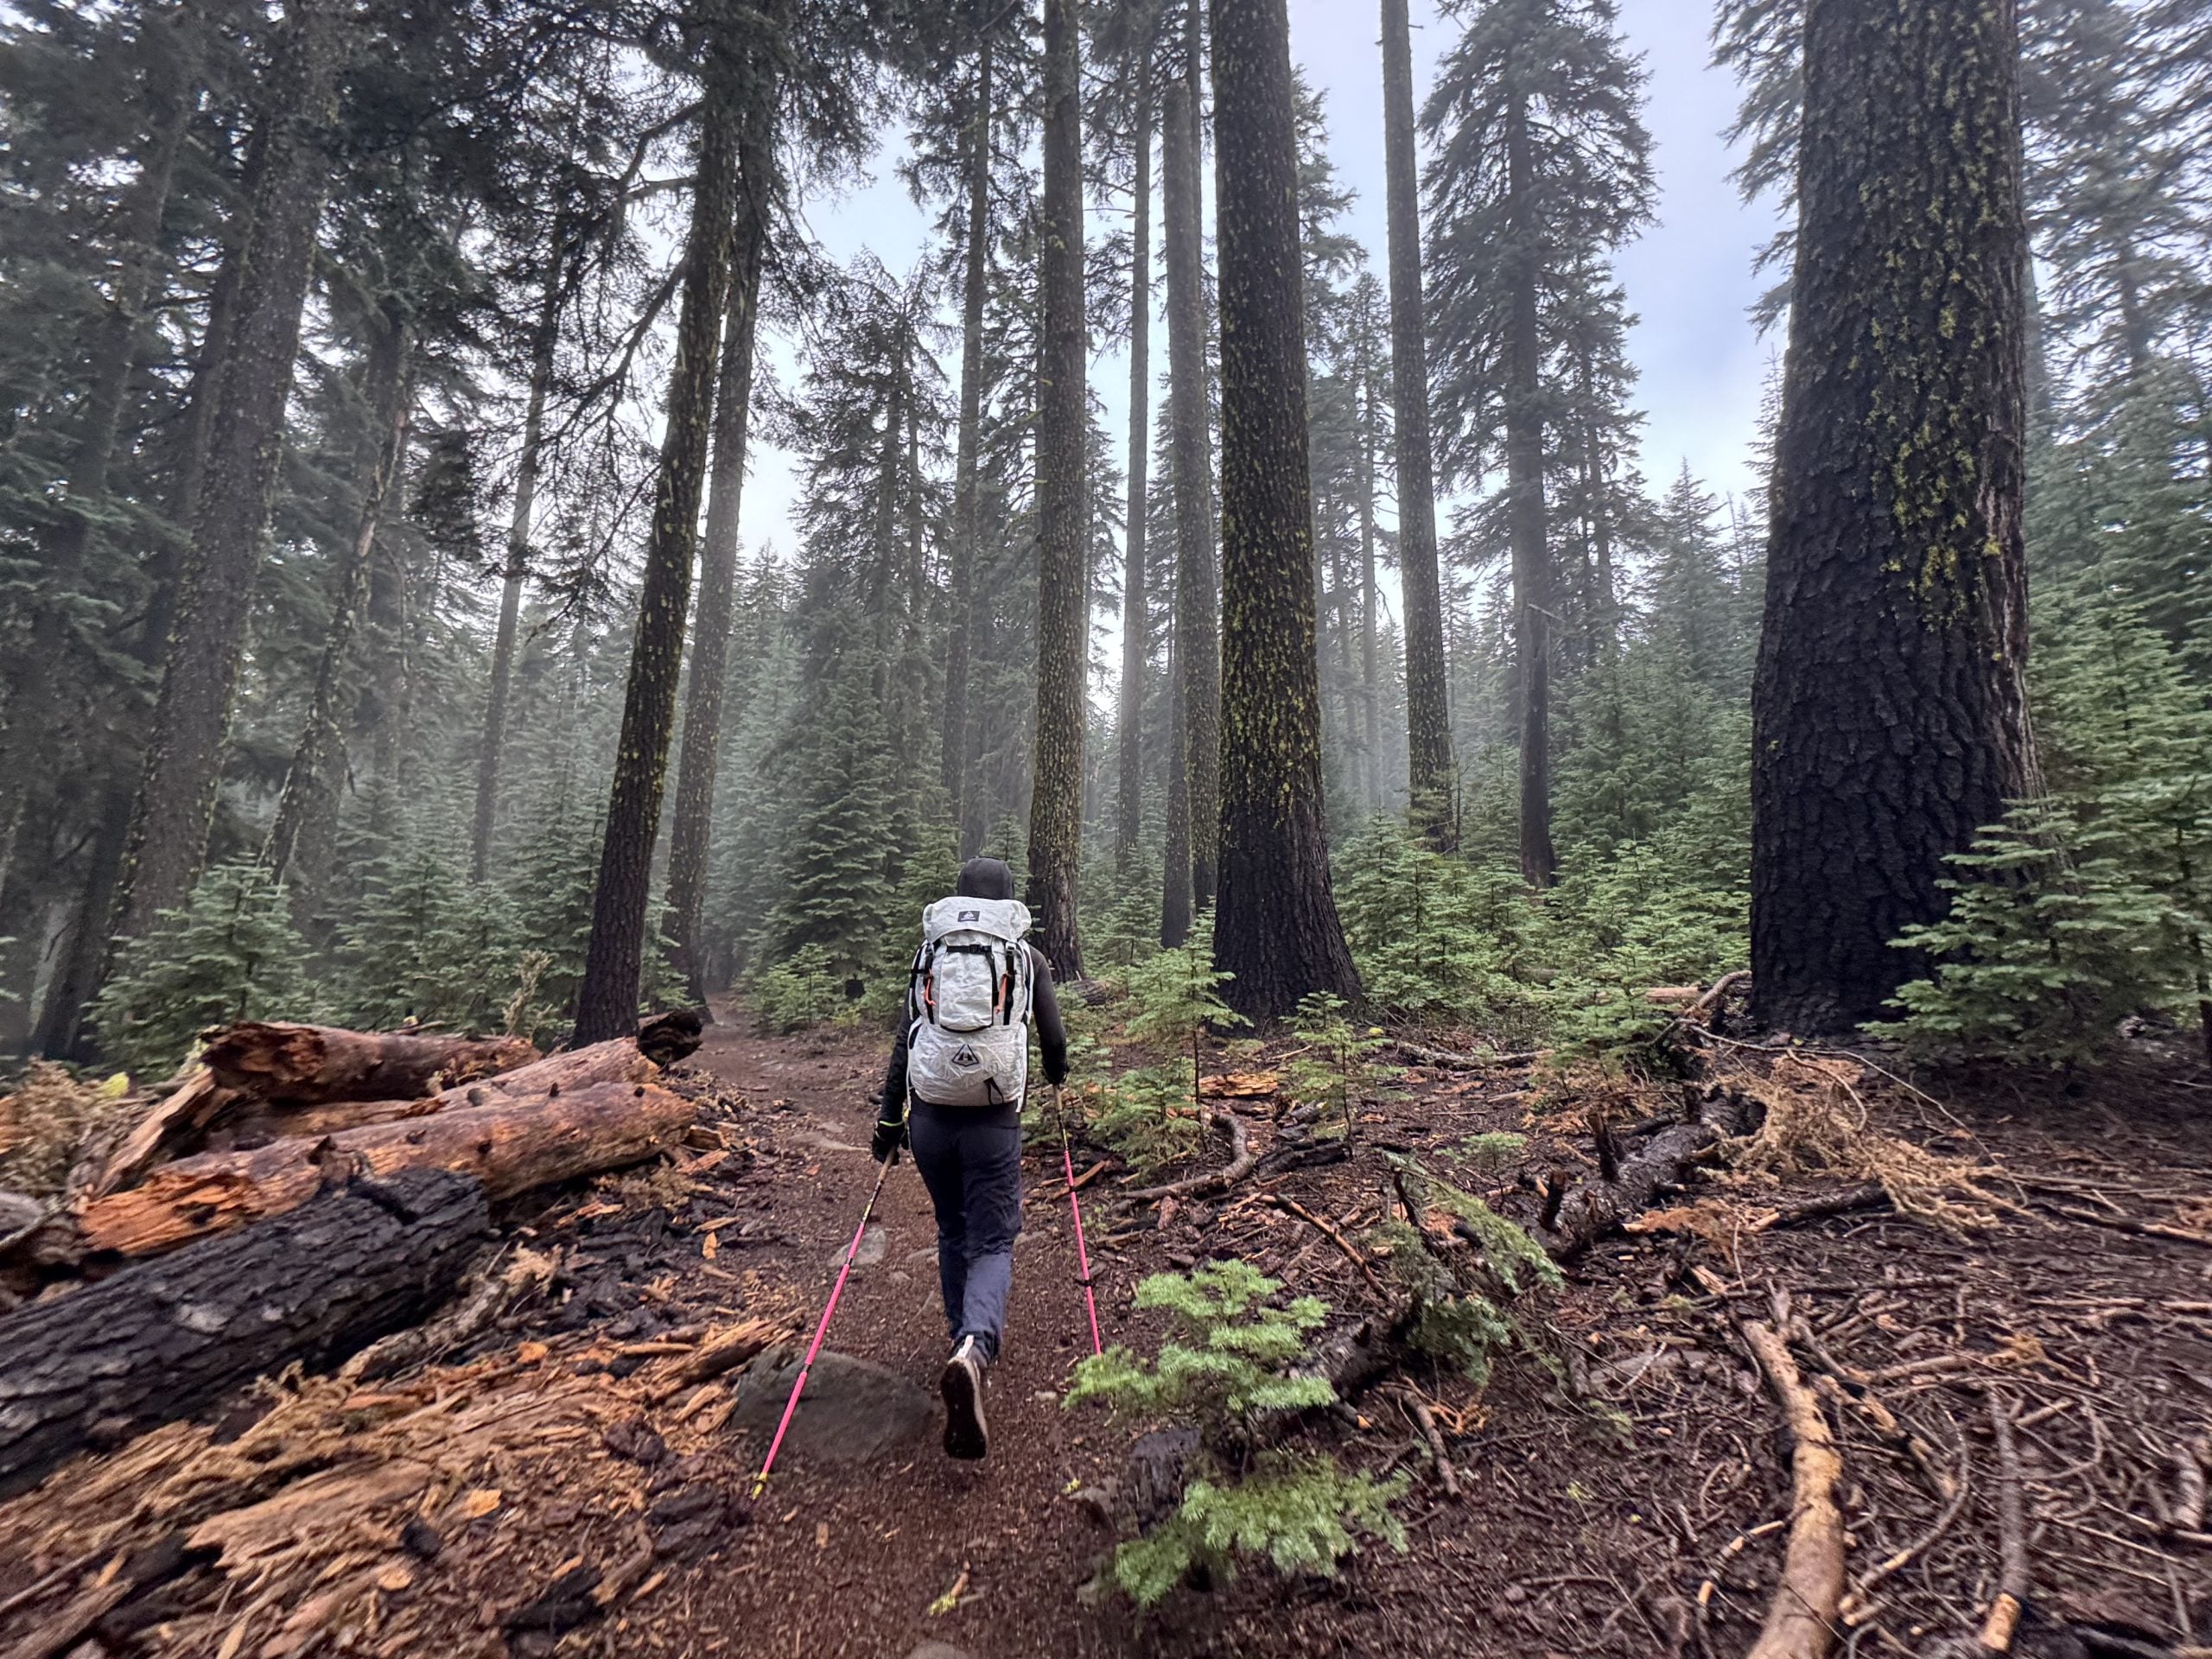
For a baseline, plant the tip by your foot. Your elbow should sit around 90 degrees. That is your neutral setting. But length is not set-and-forget. Let the terrain dictate it.
- Uphill. Choke up or shorten the pole. Keeps your shoulders neutral and drives power into the climb.
- Downhill. Hand on top of the grip and reach, or lengthen the pole. Plant below you so it catches your weight on big step-downs.
- Sidehill. Drop the uphill hand lower on the pole to stay level across the slope.
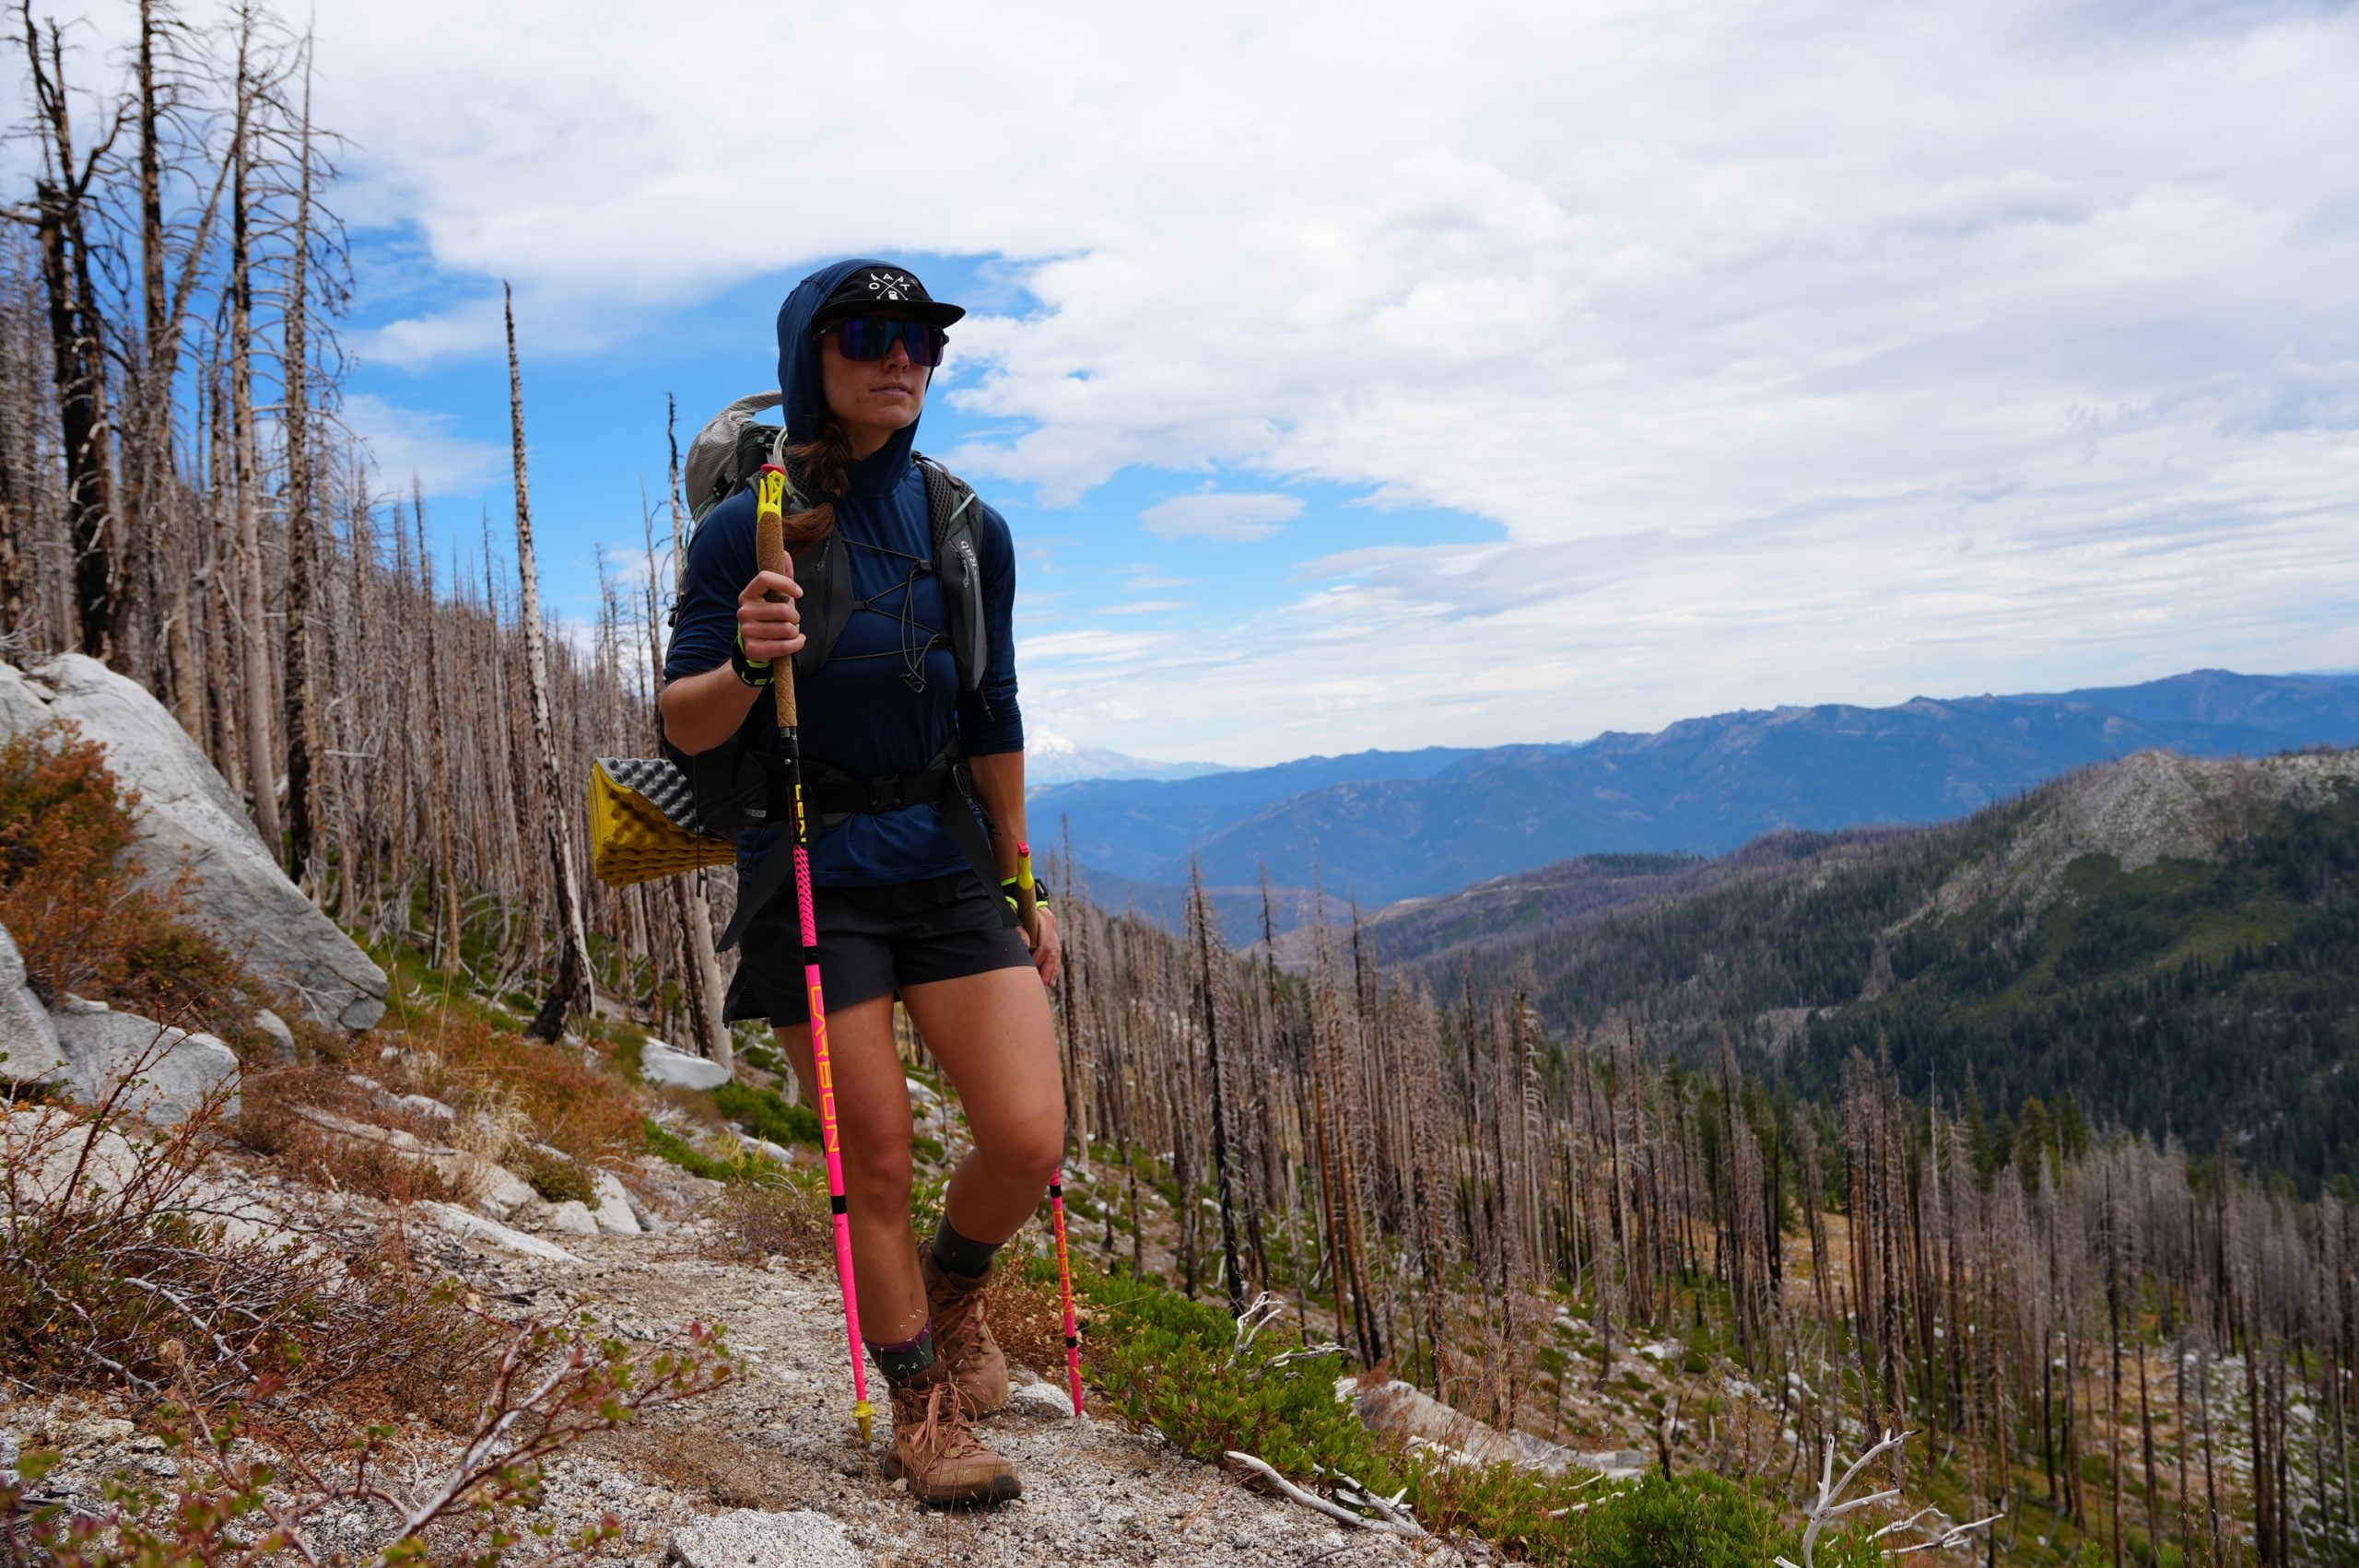
Baskets and stowing
Powder baskets add surface area so the pole does not punch straight through snow. On dry trail, take them off to cut swing weight. And learn to stow. On a scramble, a flat urban stretch, or any hands-free section, break the poles down and stash them, then deploy fast when the terrain demands it. It is a skill worth practicing.
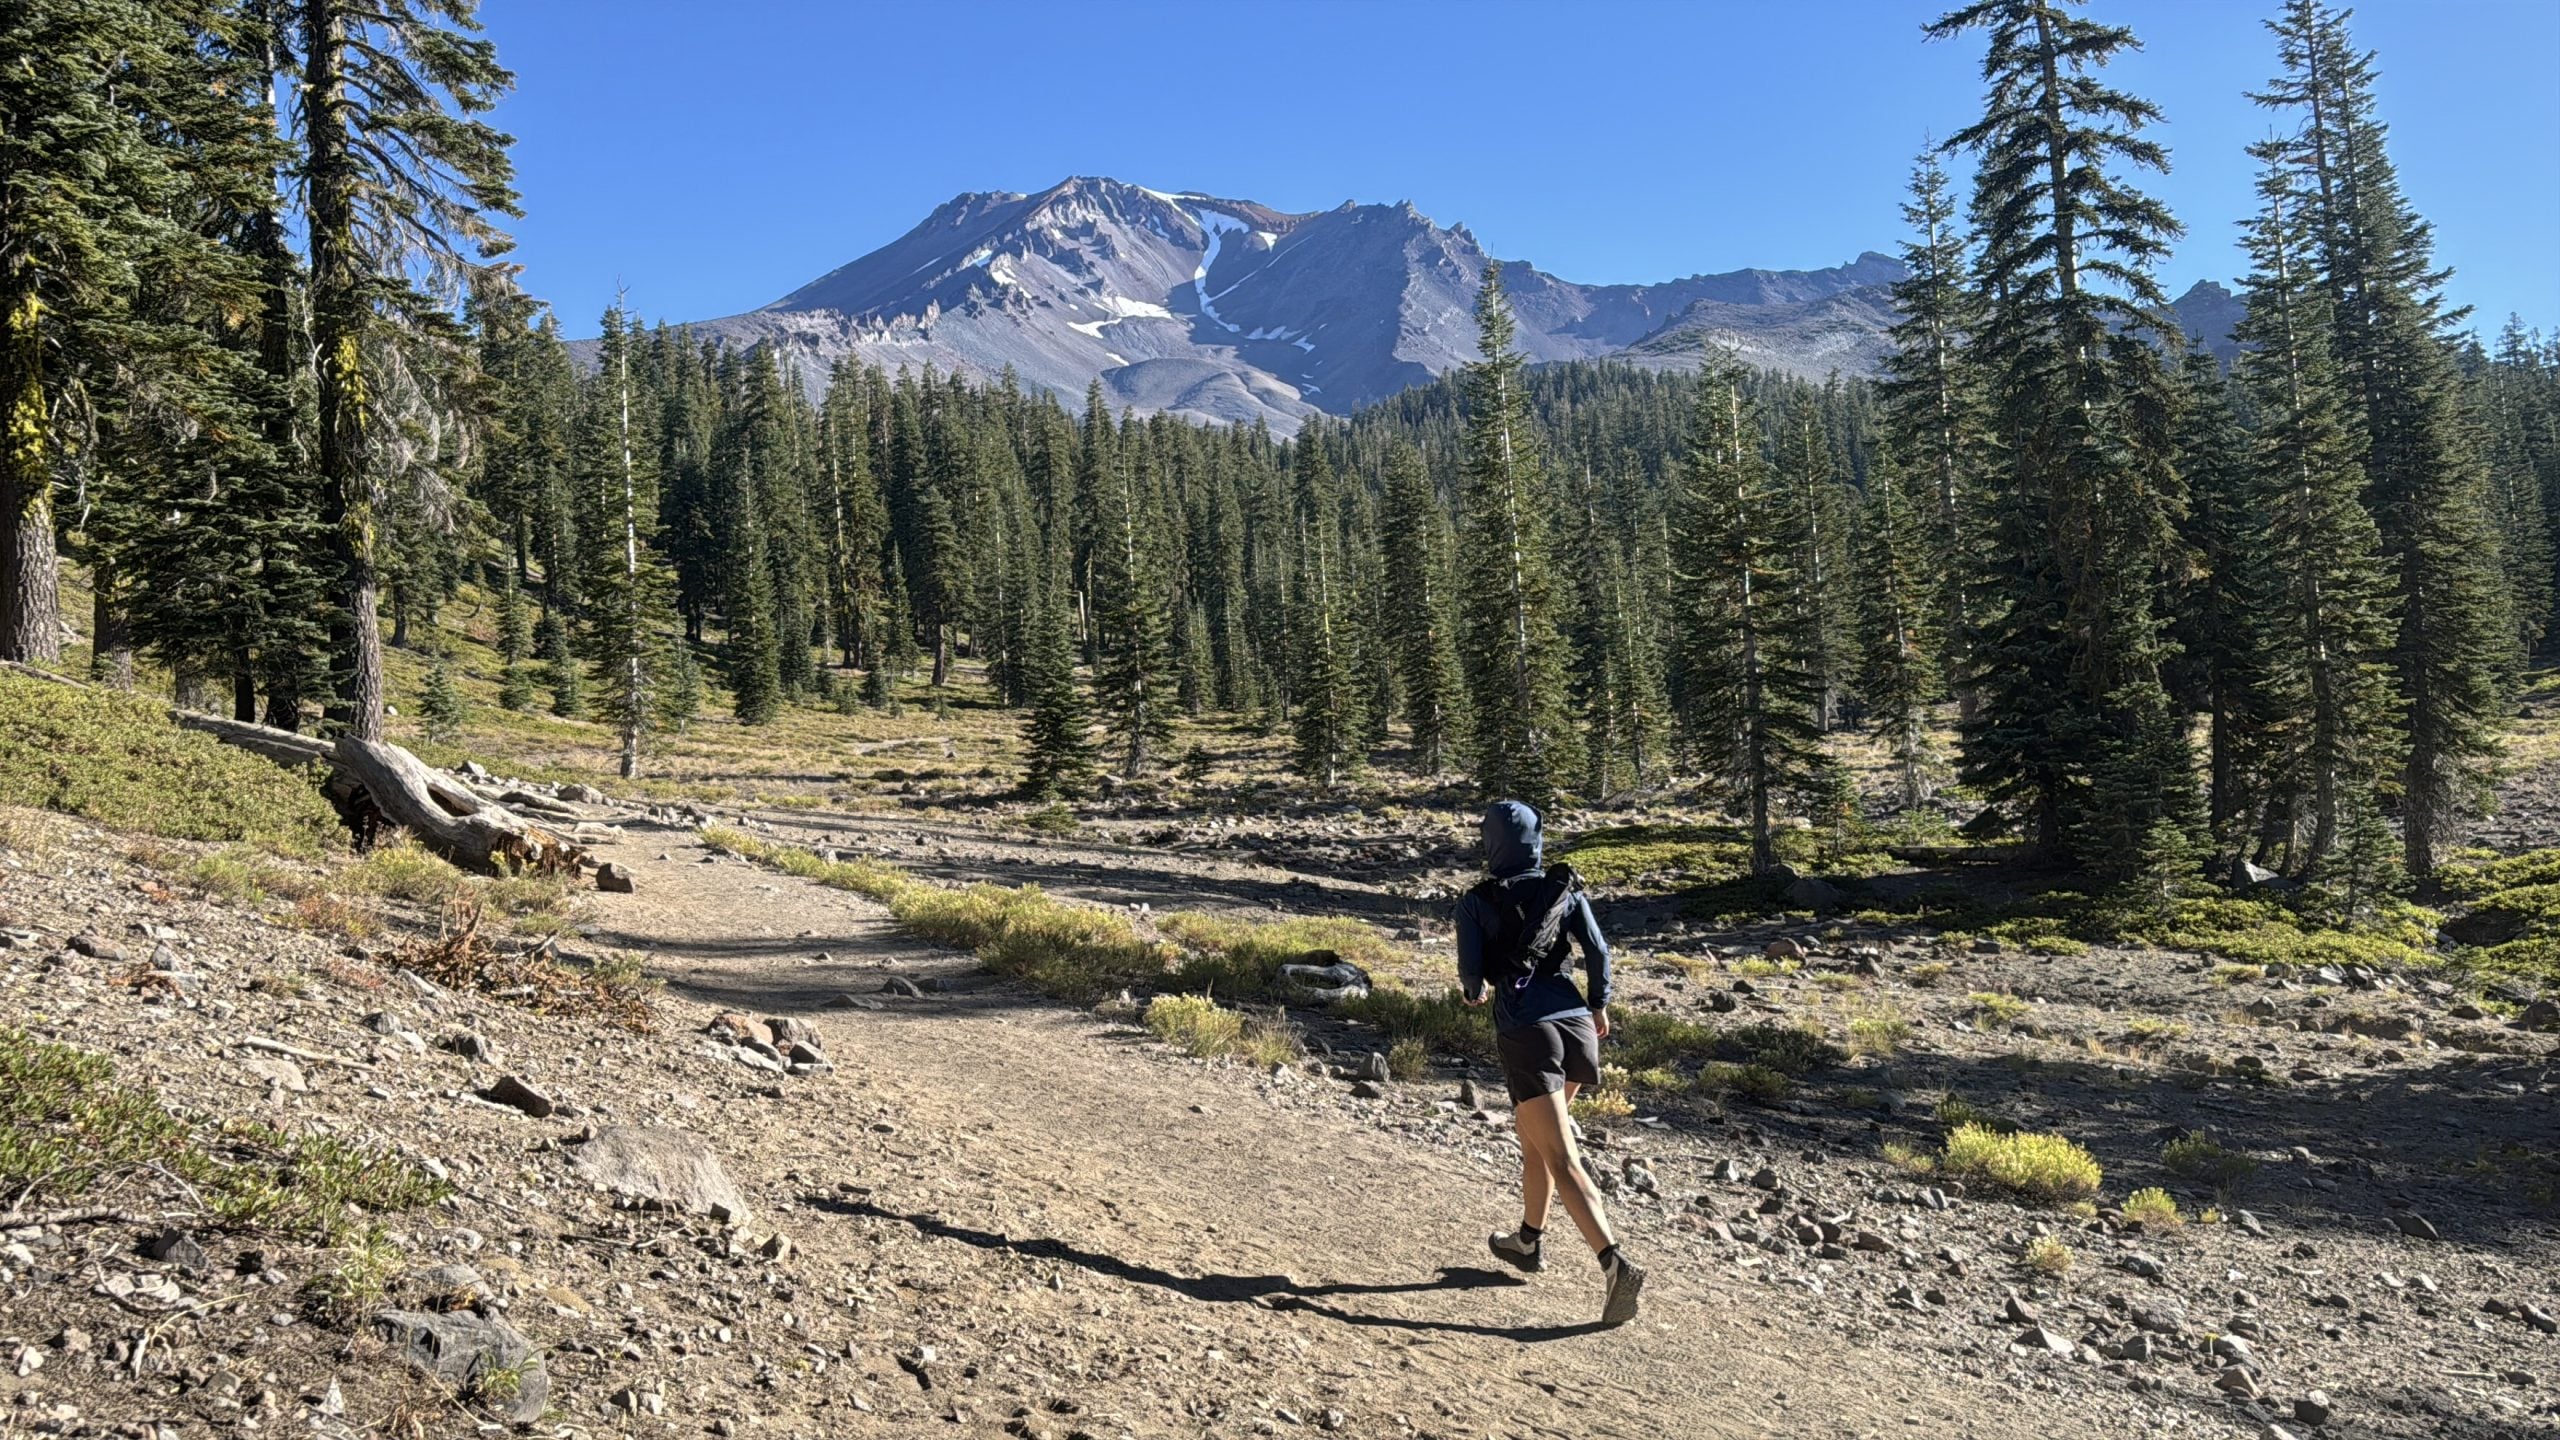
The Field Guide
Want all of this as a printable, 4-page field reference you can keep on your phone, including the Trail Load Calculator? Drop your email and we will send the PDF.
Three: When to Use Them
Do you always need poles? No. The honest answer is that it depends, and it comes down to five variables. The more of these that stack up, the more you will want poles in hand.
- Terrain. Steeper, rougher, looser, and more off-trail means more support.
- Duration. Long and multi-day efforts are where poles earn their keep.
- Environment. Snow, scree, exposure, and river crossings tip the scales fast.
- Objective. Big loaded descent, bring them. Mellow flat loop, optional.
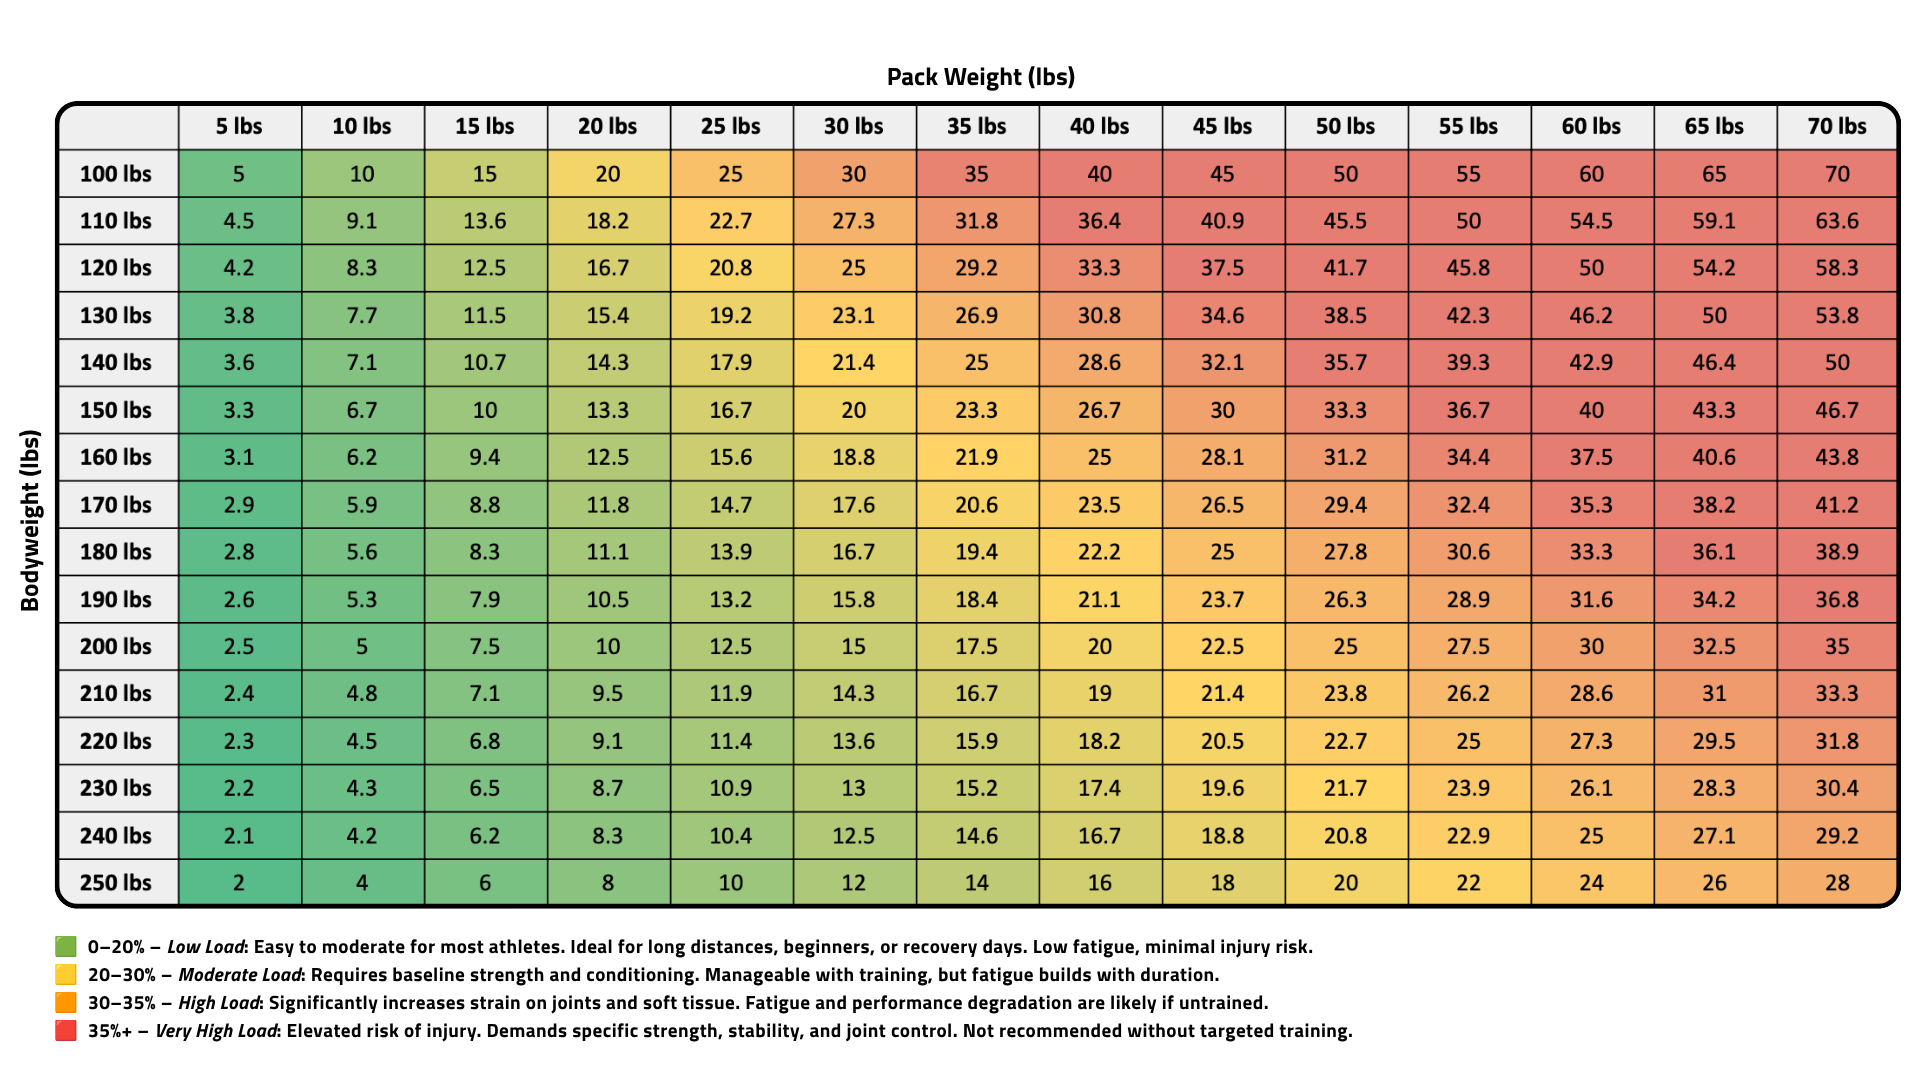
- Pack weight. The heavier the load, the more they protect your joints.
We built a simple chart for this. Find your bodyweight, find your pack weight, and read the percentage. If you are not in the green, bring the poles.
Four: What the Research Says
Here is the honest thesis. Poles do not make the load disappear. They move it around your body. On easy, flat ground they can even cost you a little energy. But where it counts, on descents and under load, the trade is worth it.
Peer-reviewed research
Going downhill hammers your knees
Downhill knee-load biomechanics; Schwameder H, et al. Journal of Sports Sciences, 1999;17(12):969–978. That load does not vanish. It is shared up into your arms and upper body instead of pounding through the knee.
Recovery is where it really shows. Researchers put 37 hikers up and down a full mountain trek with a day pack, half using poles and half not.
Peer-reviewed research
What poles did over a full-day trek
On the climb
Lower perceived effort
24 hours after
Less muscle soreness
48 hours after
Strength better preserved
Howatson G, et al. Medicine & Science in Sports & Exercise, 2011;43(1):140–145. The pole group also had lower creatine kinase, a blood marker of muscle damage, at 24 hours.
Poles also reduce lower-limb muscle activity, especially under load, because your arms take a share of the work (Knight and Caldwell, 2000). The catch is honesty about the cost.
Quick Reference
On every trip
- Straps on right. Up through the bottom, down over the top.
- Elbow near 90 degrees as your baseline length.
- Choke up on climbs. Hand on top and reach on descents.
Match the day
- Pack over 20 percent of bodyweight means poles.
- Snow means powder baskets on.
- Slickrock or sacred ground means rubber tips.
Build the skill
- Treat pole use as a technical skill and give it reps.
- Practice stashing and deploying until it is smooth.
- Keep training your balance off the poles too.
Common Questions
Do I really need trekking poles?
Not always. On flat, groomed, unloaded trail they are optional and can even cost you a little energy. But as terrain gets steeper and rougher, days get longer, or your pack gets heavier, poles go from nice-to-have to genuinely protective, especially on descents.
Carbon or aluminum poles?
Aluminum is more durable and more forgiving, which makes it the safer all-around and mountaineering choice. Carbon is lighter and packs smaller, ideal for travel and trail running, but it is pricier and more prone to snapping under a hard side load.
How long should my trekking poles be?
Start with your elbow at about 90 degrees when the tip is on the ground next to your foot. From there, shorten or choke up for climbs and lengthen for descents. Adjustable poles let you dial this in as the terrain changes.
Are the straps really that important?
Yes. Used correctly, the strap lets you push through your wrist instead of gripping the pole, which saves your hands and forearms over a long day. Come up through the bottom of the loop and back down over the top.
Do trekking poles make hiking easier?
They make it easier on your joints and muscles, not necessarily on your engine. Research shows poles can slightly raise energy cost on flat ground, but reduce knee force by 12 to 25 percent on descents and cut next-day soreness and muscle damage. The trade favors poles on big, loaded, mountainous days.
Train With OAT
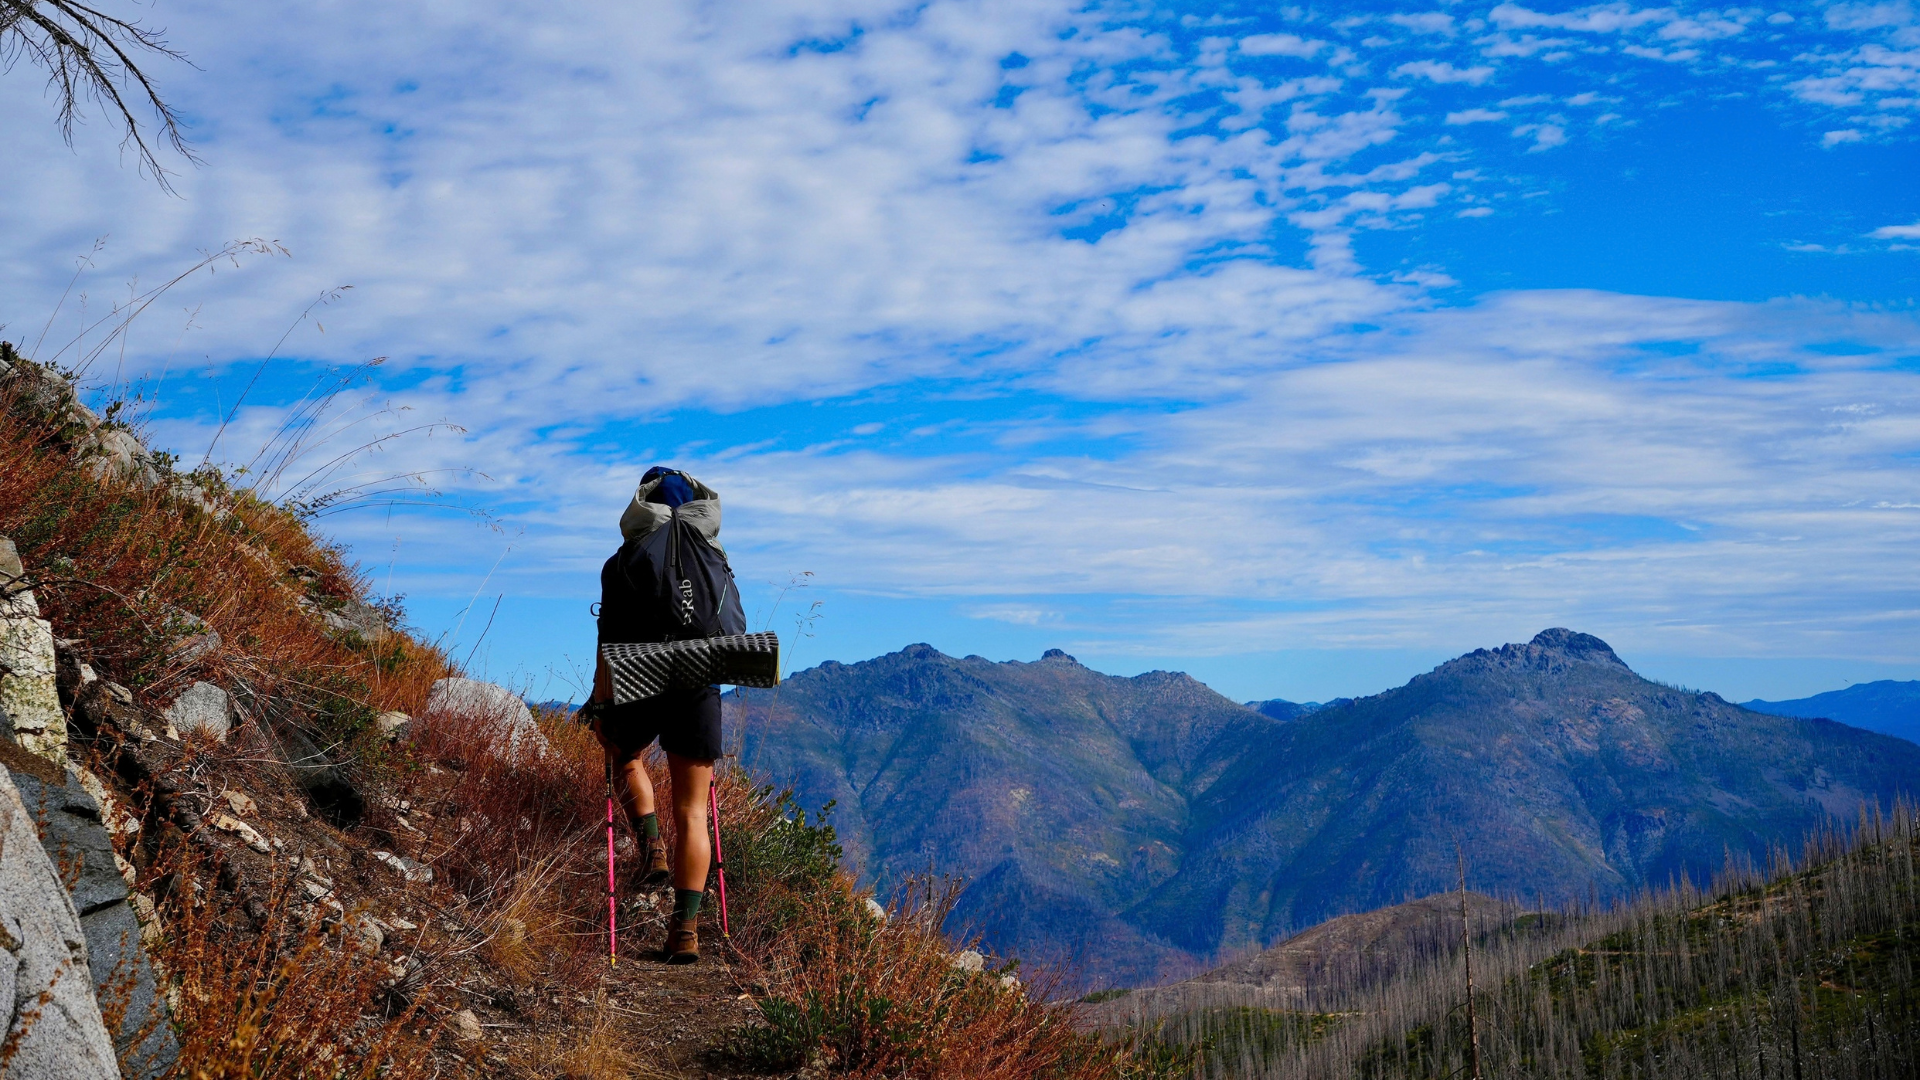
Poles are a fantastic tool. But a tool is only as good as the body using it. The stability, strength, and endurance that carry you up and down big terrain do not come from gear. They come from preparation.
Poles Will Only Get You So Far
We help you build stability from the ground up so you are ready for the terrain you actually want to be in. Science-based training for hikers, backpackers, and mountaineers.
Start Training Today Built For Real Mountain DaysA little intentional practice with your poles, and a little intentional training for your body, will change how every big day in the mountains feels.
See you on the trail.